はじめに
Microsoftがセキュリティ確保を目的に発表したIoTソリューションのひとつである、Azure Sphere!
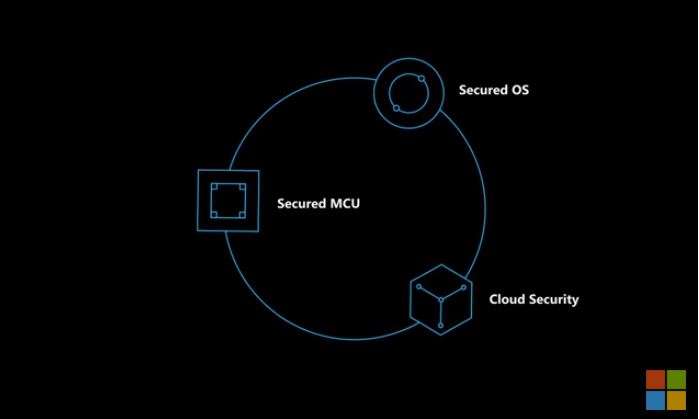
・セキュリティ保護されたMCU
・セキュリティ保護されたOS
・クラウドのセキュリティ
Linux搭載ですが、CUIでコマンド叩いてごりごりみたいな仕様ではないです。
その他、詳しい解説は本家のサイトに任せて。
https://azure.microsoft.com/ja-jp/services/azure-sphere/
実際に動作させるまで(とりあえず動くまで)をAzure Sphereのドキュメントを元に解説していきたいと思います。
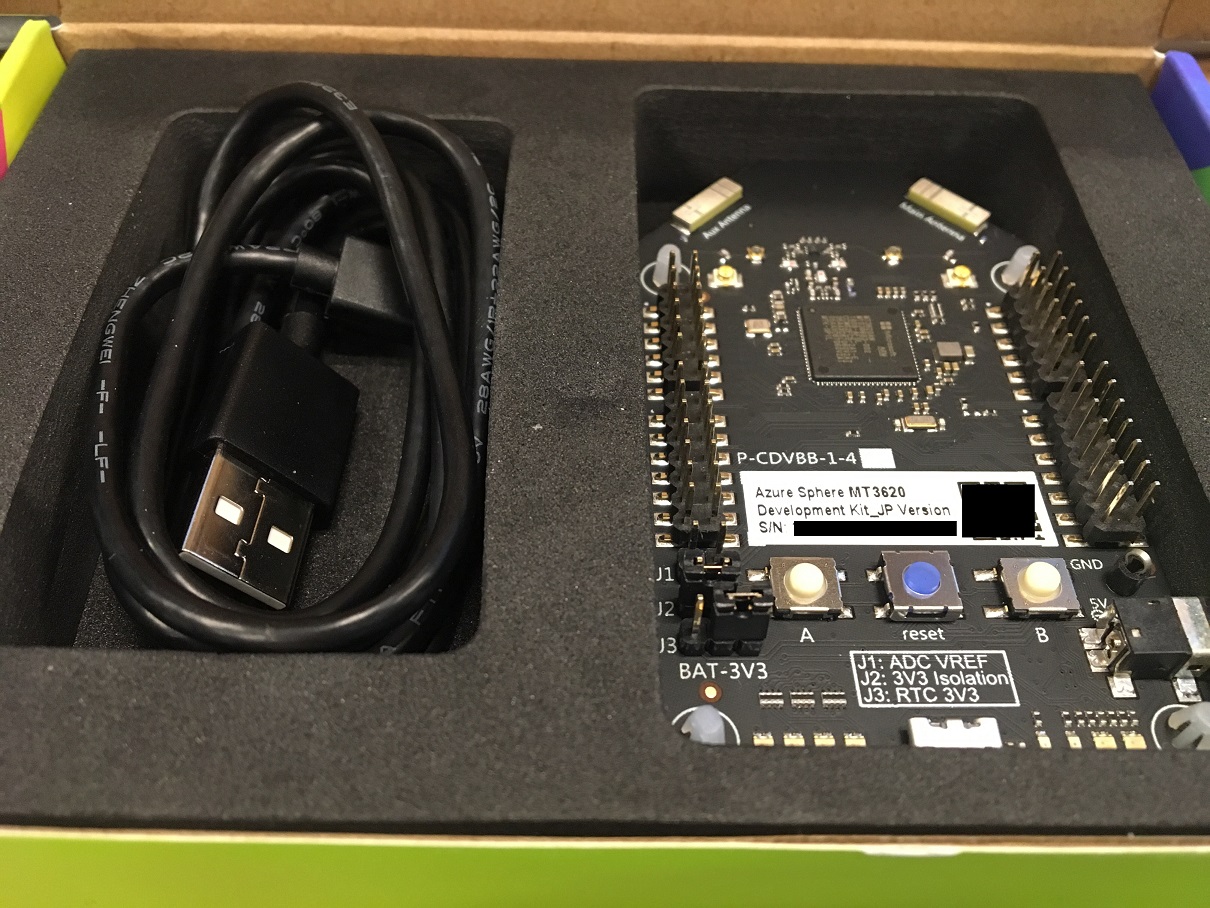
開封の儀
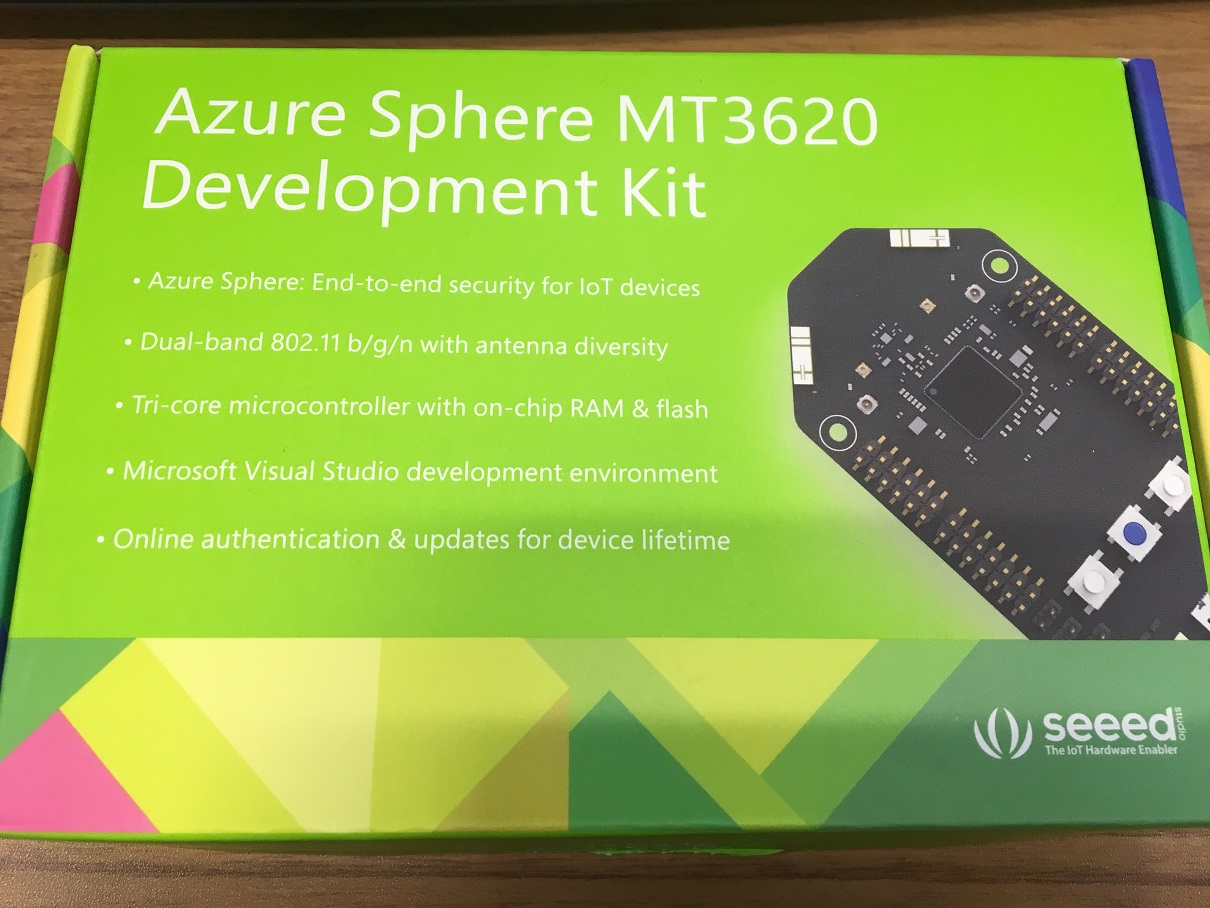
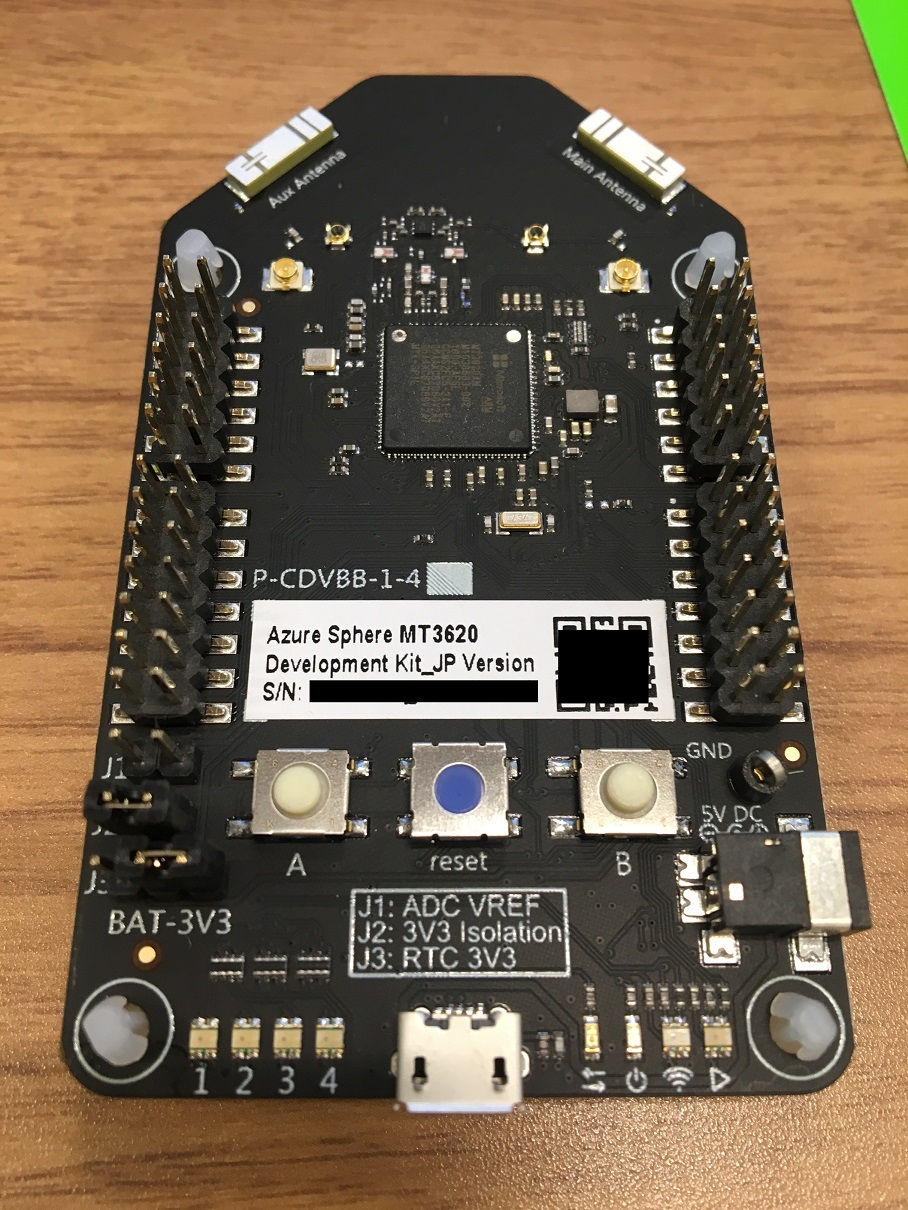
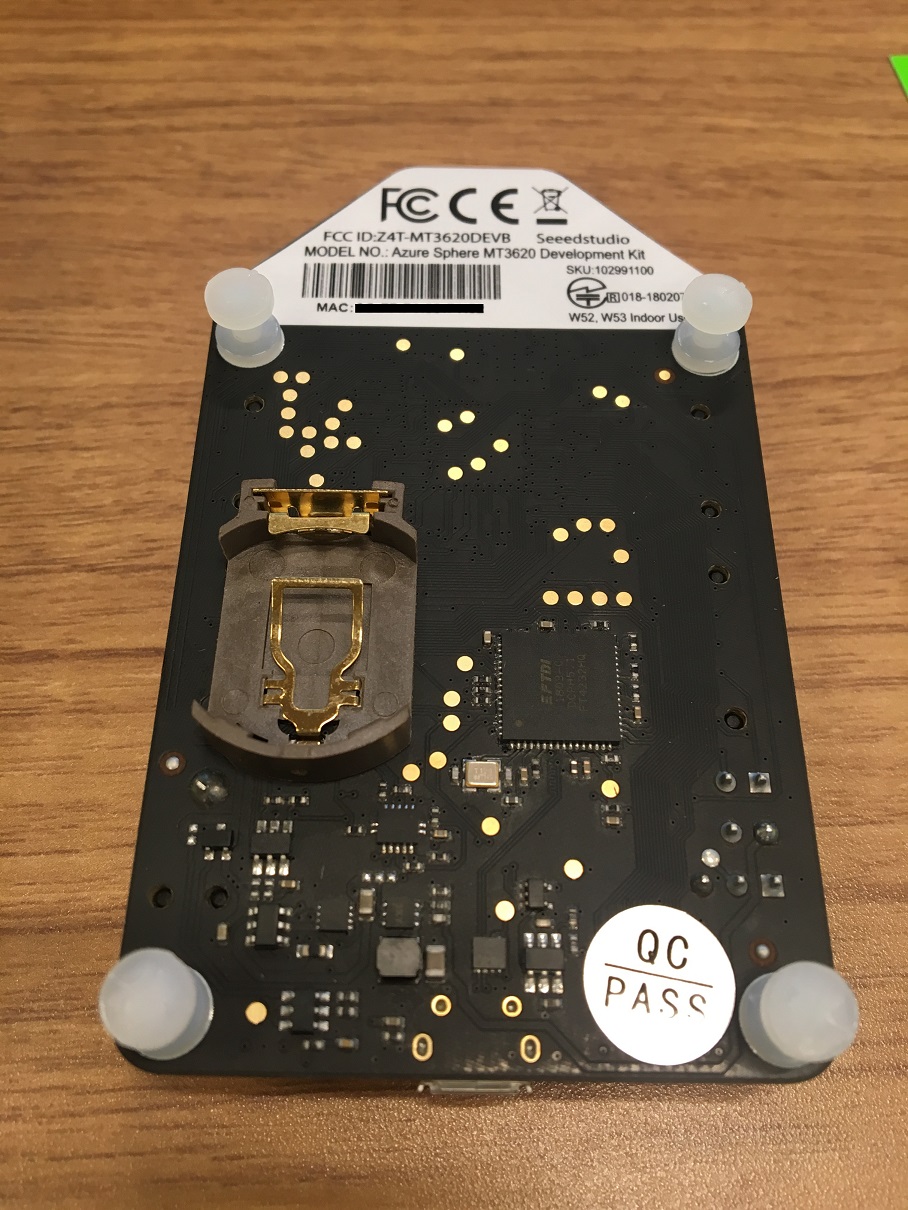
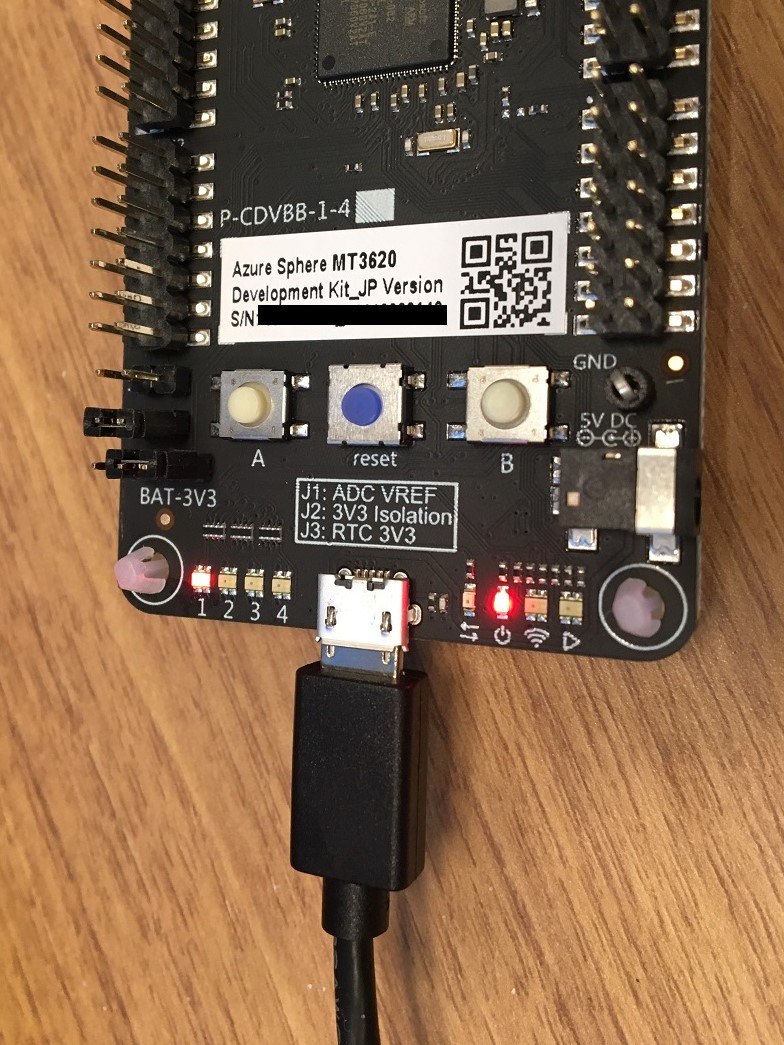
今回、日本で実際に購入可能なAzure SphereのボードはseeedのAzure Sphere MT3620 Development Kit_JP Version になります。下記にスペックが書いてあります。
https://www.seeedstudio.com/Azure-Sphere-MT3620-Development-KitJP-Version-p-3135.html
秋葉原では秋月電子で購入可能でした。店頭に行く場合は在庫を確認してから向かいましょう。
ちなみに店頭には並べられてないので店員に聞きましょう(買う人いないのかなw
http://akizukidenshi.com/catalog/g/gM-13677/
見た目はちょっとカッコイイですね(なにが
ようこそAzure Sphere
ボードを動かすためにAzure Sphereのドキュメントにならって進めていきたいと思います。
最初にやることリスト。
https://docs.microsoft.com/en-us/azure-sphere/install/overview
・Azure SphereのSDKをインストールします。
・Azure Sphereを使うためにアカウントのセットアップをします。
・デバイスのクレーム設定します
・Wi-Fiの設定をします
Azure Sphere SDKをインストール
最初にボードをPCに接続して問題なく認識するか確認します。
注意:ボード(COMポート)を認識してからSDKをインストールする順番を守りましょう。再インストールすることになります。
ボードを接続後、デバイスマネージャーを開き確認しますが、ドライバがないためOther deviceと認識されます。
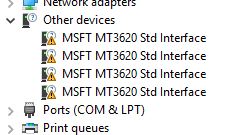
そこで、ドライバのアップデートをします。

自動アップデートで認識すると思います。

COMポートが振り当てられれたことを確認します。
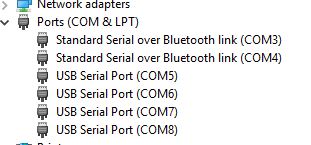
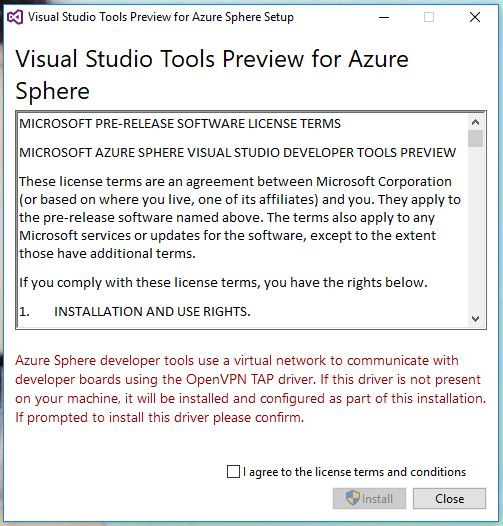
Azure SphereのSDKをインストールします。
https://docs.microsoft.com/en-us/azure-sphere/install/install
おっとVSのバージョンが古いと下のようなエラーがでます。その場合はVSをアップデートしましょう。
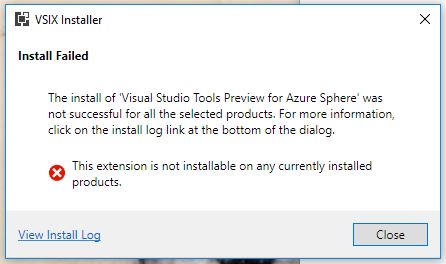
Azure Sphereを使うためにアカウントのセットアップ
https://docs.microsoft.com/en-us/azure-sphere/install/azure-directory-account
Azure Sphereを利用するにはAzureADを利用する必要があります。しかも「仕事/学校のアカウント」が必要となります。
MSアカウントでは利用できません。
確認する方法は開発コマンドプロンプトを利用します。
azsphereと入力し利用したいアカウントにログインします。

アカウントが利用できない場合は下記のようなエラーがでます。
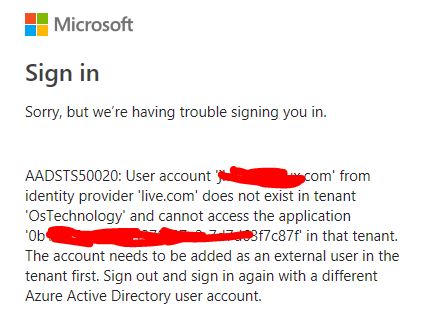
利用できるアカウントを持っていない場合は新しアカウントを作成します。
https://account.azure.com/organization
必要事項を入力します。
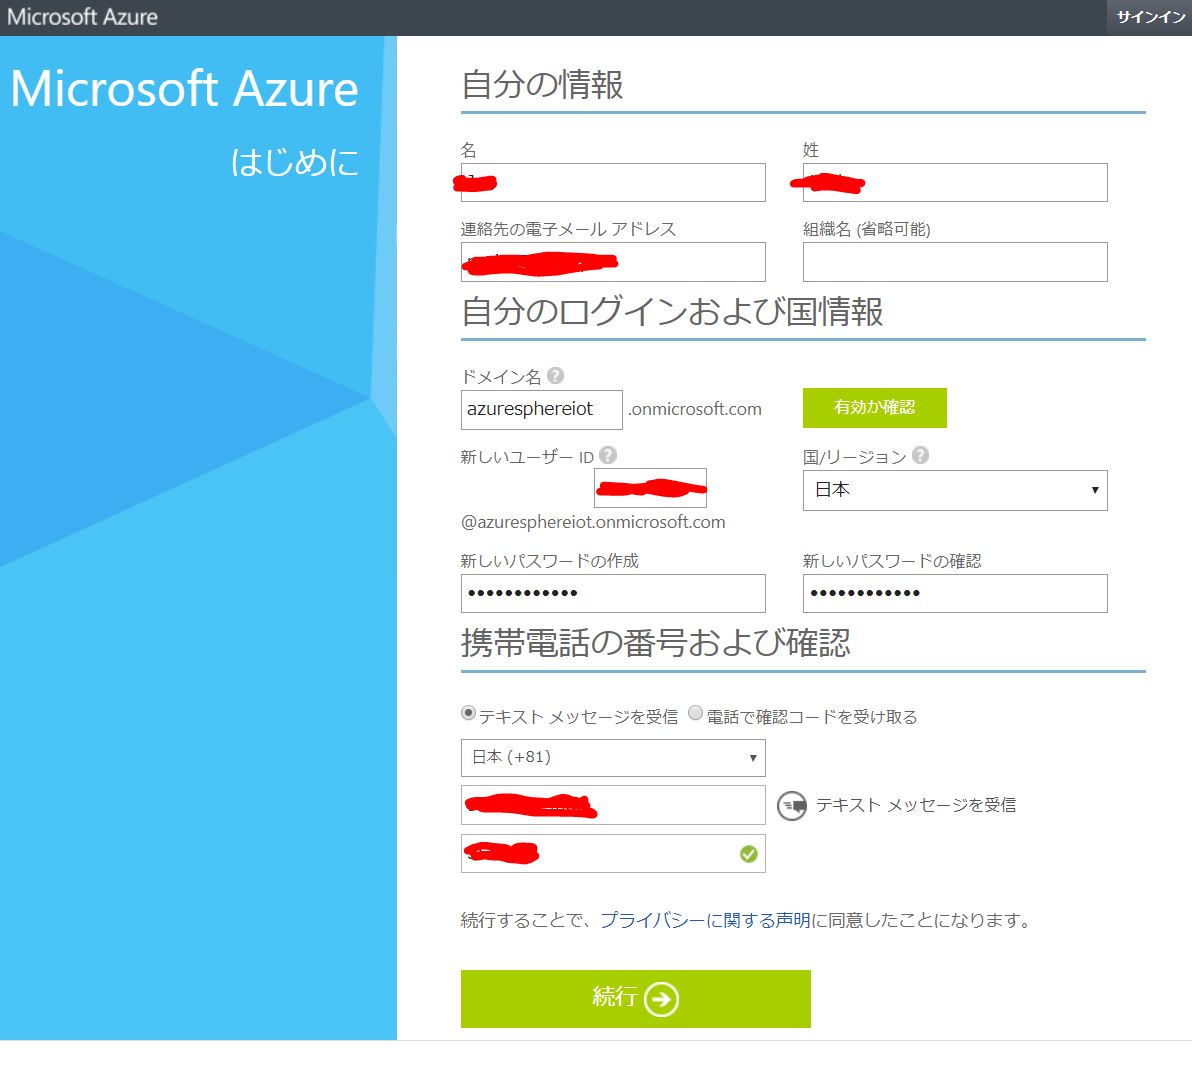
デバイスのクレーム設定
https://docs.microsoft.com/en-us/azure-sphere/install/claim-device要は、デバイスをAzureに登録します。
デバイスがPCに接続されていることを確認します。
確認する方法は開発コマンドプロンプトを利用します。
azsphere loginと入力し利用したいアカウントにログインします。
ログインが完了後、Azure Sphereテナントが見つからないと表示されます。
C:\Users\kudo\Documents>azsphere login
warn: No Azure Sphere tenants found under the selected AAD user. Use 'azsphere login' to change AAD user, or create a new Azure Sphere tenant using 'azsphere tenant create'.
Successfully logged in with the selected AAD user. This authentication will be used for subsequent commands.
Command completed successfully in 00:01:52.6171422.
テナントを作成します。
azsphere tenant create --name azuresphere
再ログインを求められます。
作成が完了すると以下の様に表示されます。
C:\Users\kudo\Documents>azsphere tenant create --name azuresphere
Created a new Azure Sphere tenant:
 --> Tenant Name: azuresphere
 --> Tenant ID:   9c65a693-6d1a-4e2b-xxxxx-f41331442281
Selected Azure Sphere tenant 'azuresphere' as the default.
You may now wish to claim the attached device into this tenant using 'azsphere device claim'.
Command completed successfully in 00:00:23.1955912.
ここで、作成が失敗する場合があります。
デバイスがAzure Sphere SDKに認識されていない場合です。
デバイスをWindowsで認識させる前にSDKをインストールした場合に起こる可能性があります。
その場合は、SDKを再インストールが必要です。
azsphere device claim Claimします。
C:\Users\kudo\Documents>azsphere device claim
Claiming device.
Successfully claimed device ID 'A584D96787564D93672848E93C7F8B7138B20C5E9AD8A0C5B82CC2729CBB1890B0A68BD8D80EA8F7B17F21F1B8BE12AA584F4A44035xxxxxxD0D1B8BD67ABD8' into tenant 'azuresphere' with ID '9c65a693-6d1a-4e2b-xxxx-f41331442281'.
Command completed successfully in 00:00:03.3237520.
次にWi-Fiの設定を行います。
Wi-Fiの設定
https://docs.microsoft.com/en-us/azure-sphere/install/configure-wifi
ここではAzure IoT Hubなどのサービスと通信ができる様にデバイスの設定を行います。
OSのアップデートやOTAアップデートを行います。
デバイスが接続されていることを確認します。
azsphere device wifi show-statusでMACアドレスを確認します。
C:\Users\kudo\Documents>azsphere device wifi show-status
SSID                :
Configuration state : unknown
Connection state    : disconnected
Security state      : unknown
Frequency           :
Mode                :
Key management      : UNKNOWN
WPA State           : DISCONNECTED
IP Address          :
MAC Address         : 2c:f7:f1:08:71:52

Command completed successfully in 00:00:02.1370770.
azsphere device wifi addでWi-Fiの設定を行います。
C:\Users\kudo\Documents>azsphere device wifi add --ssid guest --key xxxxx
Add network succeeded:
ID                  : 0
SSID                : guest
Configuration state : enabled
Connection state    : unknown
Security state      : psk

Command completed successfully in 00:00:01.7940337.
Wi-Fiの状態を確認します。
Command completed successfully in 00:00:01.7940337.

azsphere device wifi show-status
C:\Users\kudo\Documents>azsphere device wifi show-status
SSID                : guest
Configuration state : enabled
Connection state    : connected
Security state      : psk
Frequency           : 2412
Mode                : station
Key management      : WPA2-PSK
WPA State           : COMPLETED
IP Address          : 172.16.xx.216
MAC Address         : 2c:f7:f1:08:71:52

Command completed successfully in 00:00:00.9437419.
IPが振られていることを確認します。
Azure SphereのOS、OTAのアップデートを行います。
azsphere device show-ota-status
C:\Users\kudo\Documents>azsphere device show-ota-status
The Azure Sphere Security Service is targeting this device with OS version TP4.2.1
Your device has the expected version of the Azure Sphere OS: TP4.2.1.
Command completed successfully in 00:00:03.9463876.
以上でAzure Sphereを利用するまでのセットアップは完了ですが、以降では実際にアプリケーションをデプロイしていきたいと思います。
Blinkサンプルアプリケーションをビルド
デバイスのprep debugを有効化します。
有効化することでPCからアプリケーションを受け入れるように設定します。
https://docs.microsoft.com/en-us/azure-sphere/quickstarts/qs-blink-application
azsphere device prep-debug
C:\Users\kudo\Documents>azsphere device prep-debug
Getting device capability configuration for application development.
Downloading device capability configuration for device ID 'A584D96787564D93672848E93C7F8B7138B20C5E9AD8A0C5B82CC2729CBB1890B0A68BD8D80EA8F7B17F21F1B8BE12AA584F4A44035xxxxx'.
Successfully downloaded device capability configuration.
Successfully wrote device capability configuration file 'C:\Users\kudo\AppData\Local\Temp\tmpF288.tmp'.
Setting device group ID '63bbe6ea-14be-4d1a-a6e7-03591d882b42' for device with ID 'A584D96787564D93672848E93C7F8B7138B20C5E9AD8A0C5B82CC2729CBB1890B0A68BD8D80EA8F7B17F21F1B8BE12AA584F4A44035A71Exxxxx'.
Successfully disabled over-the-air updates.
Enabling application development capability on attached device.
Applying device capability configuration to device.
Successfully applied device capability configuration to device.
The device is rebooting.
Installing debugging server to device.
Deploying 'C:\Program Files (x86)\Microsoft Azure Sphere SDK\DebugTools\gdbserver.imagepackage' to the attached device.
Image package 'C:\Program Files (x86)\Microsoft Azure Sphere SDK\DebugTools\gdbserver.imagepackage' has been deployed to the attached device.
Application development capability enabled.
Successfully set up device 'A584D96787564D93672848E93C7F8B7138B20C5E9AD8A0C5B82CC2729CBB1890B0A68BD8D80EA8F7B17F21F1B8BE12AA584F4A44035xxxxx' for application development, and disabled over-the-air updates.
Command completed successfully in 00:00:41.0106377.
サンプルアプリケーションをビルドします。
VS2017を開きます。そして新規にプロジェクトを作成します。
メニュー「ファイル」→「新規作成」→「プロジェクト」
「Blink Sample for MT3620 RDB(Azure Sphere)」を選択しOKをクリックします。
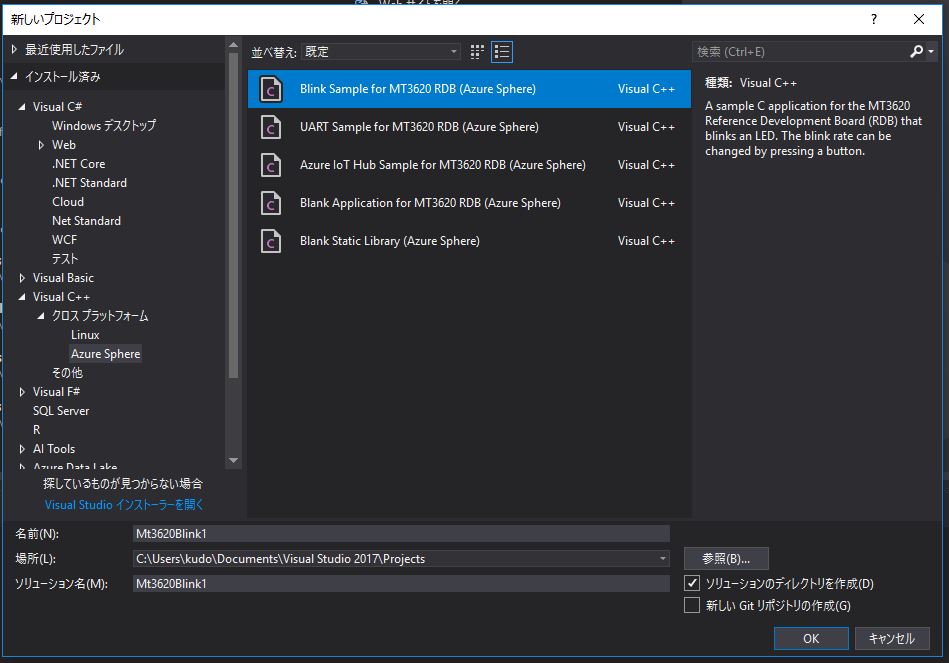
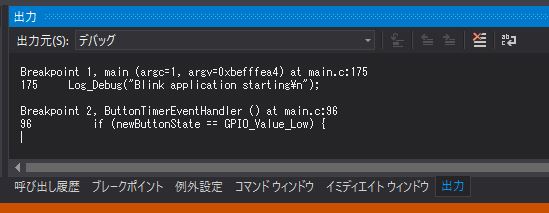
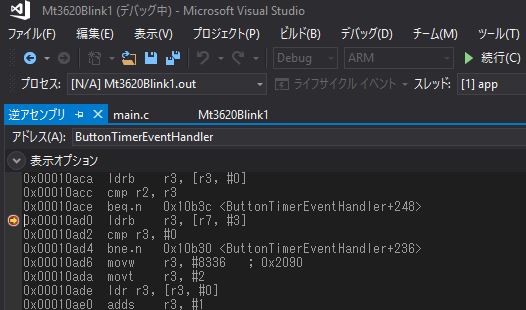
「maiin.c」に 「 if (newButtonState == GPIO_Value_Low)」行があります。F9を押下しブレイクポイントに設定します。

ボタンAを押すと3段階で点灯速度が変化します。試してみましょう。
終了する場合はデバックの停止(もしくはShift+F5)で停止します。
簡単な動作確認はこれ終了です。
これ以外にもクイックスタートではWifi経由でアプリケーションを展開する方法も書かれています。
https://docs.microsoft.com/en-us/azure-sphere/quickstarts/qs-first-deployment
まとめ
とりあえず動くまでということでチュートリアルにそった形で試しました。
Azure SphereということだけあってAzureに登録しないと動作しない(?)というのが肝かもしれません。
管理ができるという点ではセキュアなのかな?
ボードのみなので大したことはできない状態ですが、近々販売開始されるGrove Starter Kitを手に入れてAzure IoT Hubと連携して遊びたい思います。
https://www.seeedstudio.com/Grove-Starter-Kit-for-Azure-Sphere-MT3620-Development-Kit-p-3150.html
