はじめに
Azure Load TestingではJMeterスクリプトを使用する場合にはVNET内(プライベート エンドポイント)で利用することが可能です。
以前試した時にはなかった機能です。この機能を利用するとVNET内で完結できます。ExpressRouteやVPNの先も対象にできます。
これはVNET内に仮想マシンが建つようです。そのためIPアドレスに注意する必要です。
Load Testing
立ち上げてみます。まだ、すべてのリージョンで利用できないことに注意が必要です。
名前を付けます。
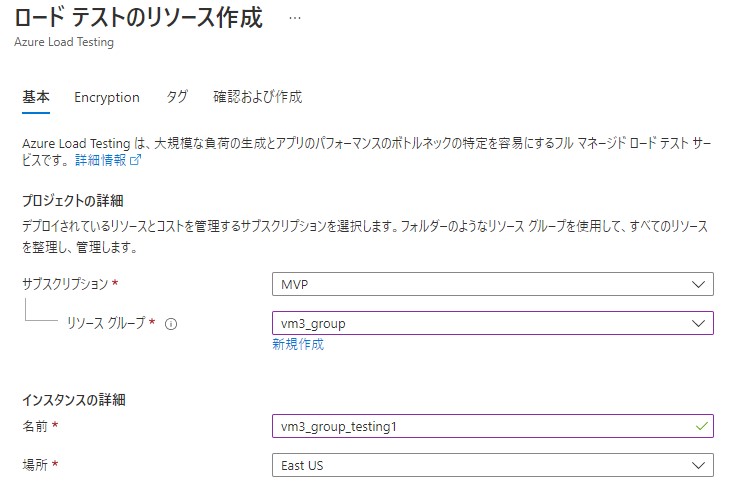
暗号化はMMKのままにします。

あとは作成します。
テストの作成
テストを作成します。
テストはJMeterスクリプトのアップロードで作成します。
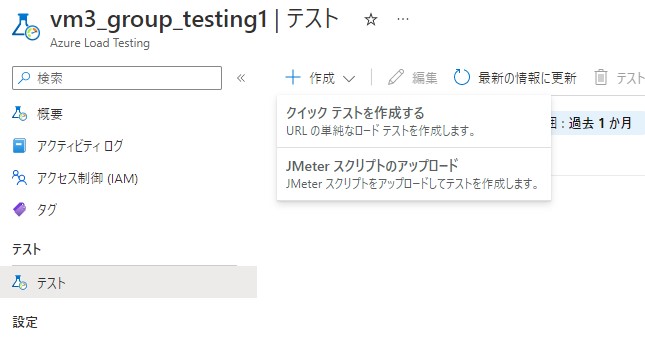
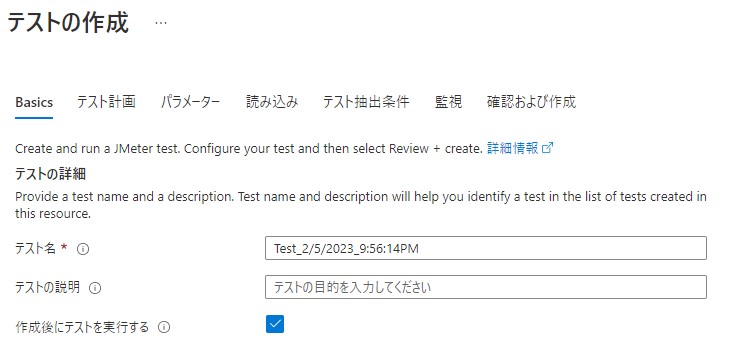
テストを作成します。名前はそのままです。
テスト計画を設定します。ファイルは下記のJMeterスクリプトを保存してアップロードします。
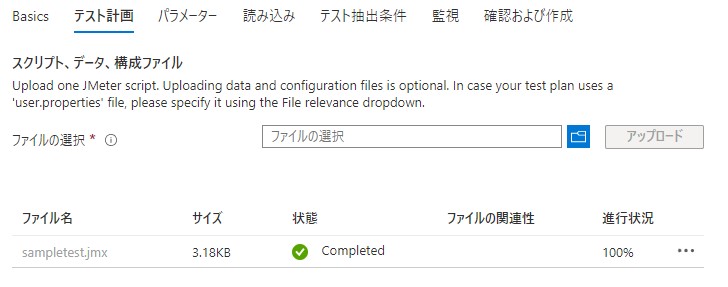
JMeterスクリプト
下記はパラメーターとして環境変数読み込むように設定しています。
${__BeanShell( System.getenv("domain") )}
<?xml version="1.0" encoding="UTF-8"?>
<jmeterTestPlan version="1.2" properties="5.0" jmeter="5.4.1">
  <hashTree>
    <TestPlan guiclass="TestPlanGui" testclass="TestPlan" testname="Azure Load Testing Quickstart" enabled="true">
      <stringProp name="TestPlan.comments"></stringProp>
      <boolProp name="TestPlan.functional_mode">false</boolProp>
      <boolProp name="TestPlan.tearDown_on_shutdown">true</boolProp>
      <boolProp name="TestPlan.serialize_threadgroups">false</boolProp>
      <elementProp name="TestPlan.user_defined_variables" elementType="Arguments" guiclass="ArgumentsPanel" testclass="Arguments" testname="User Defined Variables" enabled="true">
        <collectionProp name="Arguments.arguments"/>
      </elementProp>
      <stringProp name="TestPlan.user_define_classpath"></stringProp>
    </TestPlan>
    <hashTree>
      <ThreadGroup guiclass="ThreadGroupGui" testclass="ThreadGroup" testname="Thread Group" enabled="true">
        <stringProp name="ThreadGroup.on_sample_error">continue</stringProp>
        <elementProp name="ThreadGroup.main_controller" elementType="LoopController" guiclass="LoopControlPanel" testclass="LoopController" testname="Loop Controller" enabled="true">
          <boolProp name="LoopController.continue_forever">false</boolProp>
          <intProp name="LoopController.loops">-1</intProp>
        </elementProp>
        <stringProp name="ThreadGroup.num_threads">5</stringProp>
        <stringProp name="ThreadGroup.ramp_time">10</stringProp>
        <boolProp name="ThreadGroup.scheduler">true</boolProp>
        <stringProp name="ThreadGroup.duration">120</stringProp>
        <stringProp name="ThreadGroup.delay">5</stringProp>
        <boolProp name="ThreadGroup.same_user_on_next_iteration">true</boolProp>
      </ThreadGroup>
      <hashTree>
        <HTTPSamplerProxy guiclass="HttpTestSampleGui" testclass="HTTPSamplerProxy" testname="Homepage" enabled="true">
          <elementProp name="HTTPsampler.Arguments" elementType="Arguments" guiclass="HTTPArgumentsPanel" testclass="Arguments" testname="User Defined Variables" enabled="true">
            <collectionProp name="Arguments.arguments"/>
          </elementProp>
          <stringProp name="HTTPSampler.domain">${__BeanShell( System.getenv("domain") )}</stringProp>
          <stringProp name="HTTPSampler.port"></stringProp>
          <stringProp name="HTTPSampler.protocol"></stringProp>
          <stringProp name="HTTPSampler.contentEncoding"></stringProp>
          <stringProp name="HTTPSampler.path"></stringProp>
          <stringProp name="HTTPSampler.method">GET</stringProp>
          <boolProp name="HTTPSampler.follow_redirects">true</boolProp>
          <boolProp name="HTTPSampler.auto_redirects">false</boolProp>
          <boolProp name="HTTPSampler.use_keepalive">true</boolProp>
          <boolProp name="HTTPSampler.DO_MULTIPART_POST">false</boolProp>
          <stringProp name="HTTPSampler.embedded_url_re"></stringProp>
          <stringProp name="HTTPSampler.connect_timeout"></stringProp>
          <stringProp name="HTTPSampler.response_timeout"></stringProp>
        </HTTPSamplerProxy>
        <hashTree/>
      </hashTree>
    </hashTree>
  </hashTree>
</jmeterTestPlan>
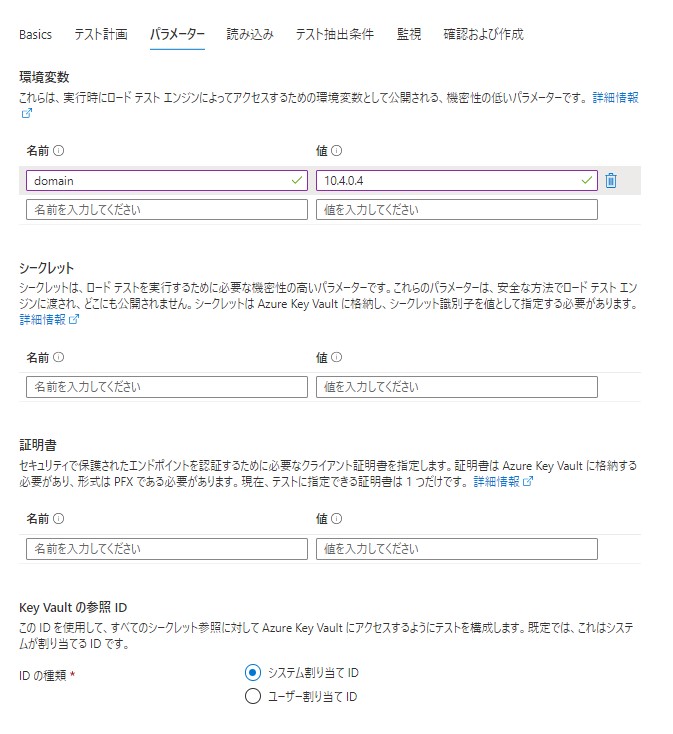
パラメーターを設定します。
- 名前:domain
- 値:{対象のプライベートIP}
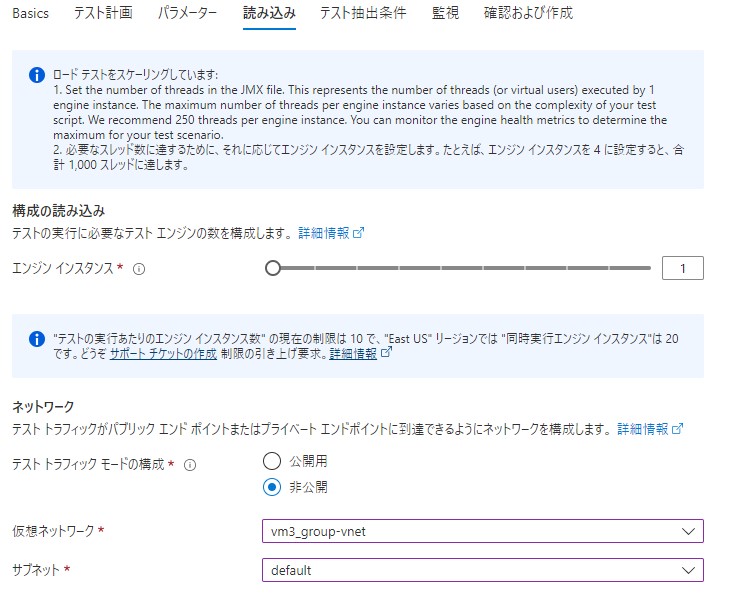
読み込みでネットワークを選択します。
テストトラフィックモードの構成は非公開に設定します。対象となる仮想マシンがあるVNETを指定します。
(プライベートの日本語直訳っぽいですね)
テスト抽出条件はそのままです。

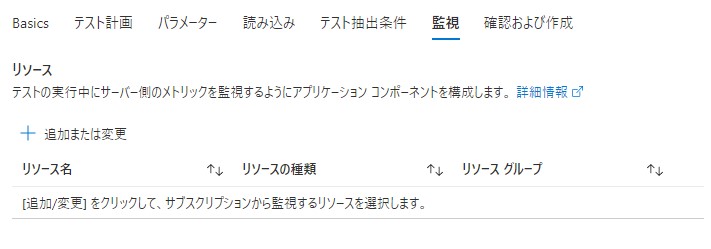
監視はそのままです。
作成後に実行されます。

テスト結果が確認しましょう。
ログの確認
対象の仮想マシンのログを確認します。プライベートIPからアクセスされていることがわかります。

まとめ
VNET内でAzure Load Testingを利用できることには大きなメリットがあります。外部に公開されないバックエンドの処理などに対して単体のテストが行えるなど、セキュアな環境での負荷試験も簡単に行えるようになります。
