はじめに
Stable Diffusion web UI をCPU で利用できるようにする方法を紹介します。
ノートパソコンにGPU載っているものでもLaptopバージョンでは動作しない可能があります。また、気軽にStable Diffusion を試してみたいですね。そこでブラウズで操作できるStable Diffusion web UIをCPUで利用してみたいと思います。
最低条件
本記事で検証を行っている環境
- WSL2
- Ubuntu 22.04 LTS(手動インポート)
- たぶんメモリは16GB必要(大体12GB程度利用されています)
環境としてroot環境では実行できません。そこで、WSLを利用する場合には下記を参考にユーザーを作成し動作させる必要があります。

Stable Diffusion web UI のインストール
Stable Diffusion web UIのインストールは下記を参考にして行っていきます。

最初に以下をインストールします。環境によってはすでにインストール済みのものもあります。
sudo apt install wget git python3 python3-venv python3-pip libgl1-mesa-dev
次にStable Diffusion web UI をインストールします。CPUで利用する場合はGitからCloneしてきます。
git clone https://github.com/AUTOMATIC1111/stable-diffusion-webui.git
ディレクトリを移動します。
cd stable-diffusion-webui
GPU用からCPU用へ変更
GPU用からCPU用へ変更するには launch.py を編集します。
vi launch.py
下記を編集します。TORCH_COMMAND はpytorch のインストールコマンドを参考にします。

変更前
torch_command = os.environ.get('TORCH_COMMAND', "pip install torch==1.13.1+cu117 torchvision==0.14.1+cu117 --extra-index-url https://download.pytorch.org/whl/cu117")
変更後
torch_command = os.environ.get('TORCH_COMMAND', "pip install torch==1.13.1+cpu torchvision==0.14.1+cpu torchaudio==0.13.1 --extra-index-url https://download.pytorch.org/whl/cpu")
以上でStable Diffusion web UI の設定は完了です。
Stable Diffusion original のダウンロード
Stable Diffusion web UI はあくまでも画像を生成するだけです。モデルは含まれていません。
そこで、Stable Diffusion original をダウンロードして格納する必要があります。
Stable Diffusionのoriginal モデルは下記で公開されています。

sd-v1-4.ckpt をダウンロードして利用します。
cd models/Stable-diffusion
wget https://huggingface.co/CompVis/stable-diffusion-v-1-4-original/resolve/main/sd-v1-4.ckpt
以上でモデルの準備は完了です。
models/Stable-diffusion にダウンロードするとサブディレクトリでも勝手に読み込んでくれます。
実行する
webui.sh を実行します。
cd ~/stable-diffusion-webui
CPUで実行するためには下記のargsを指定します。
./webui.sh --skip-torch-cuda-test --precision full --no-half
他のパソコンからアクセスしたい場合、クラウド上で実行して直接アクセスしたい場合には下記のようにlistenを追加します。
./webui.sh --skip-torch-cuda-test --precision full --no-half --listen
実行結果
$ ./webui.sh --skip-torch-cuda-test --precision full --no-half
################################################################
Install script for stable-diffusion + Web UI
Tested on Debian 11 (Bullseye)
################################################################

################################################################
Running on user user
################################################################

################################################################
Repo already cloned, using it as install directory
################################################################

################################################################
Create and activate python venv
################################################################

################################################################
Launching launch.py...
################################################################
Python 3.10.6 (main, Nov 14 2022, 16:10:14) [GCC 11.3.0]

(省略)

Applying cross attention optimization (InvokeAI).
Textual inversion embeddings loaded(0):
Model loaded in 29.2s (calculate hash: 12.1s, load weights from disk: 2.7s, create model: 10.2s, apply weights to model: 3.9s).
Running on local URL: http://127.0.0.1:7860

To create a public link, set `share=True` in `launch()`.
Startup time: 33.3s (import gradio: 1.5s, import ldm: 0.5s, other imports: 0.9s, load scripts: 0.2s, load SD checkpoint: 29.2s, create ui: 0.6s, gradio launch: 0.3s).
上記のようにURLが表示されます。
ブラウズからアクセスします。
確認としてCatを生成しています。
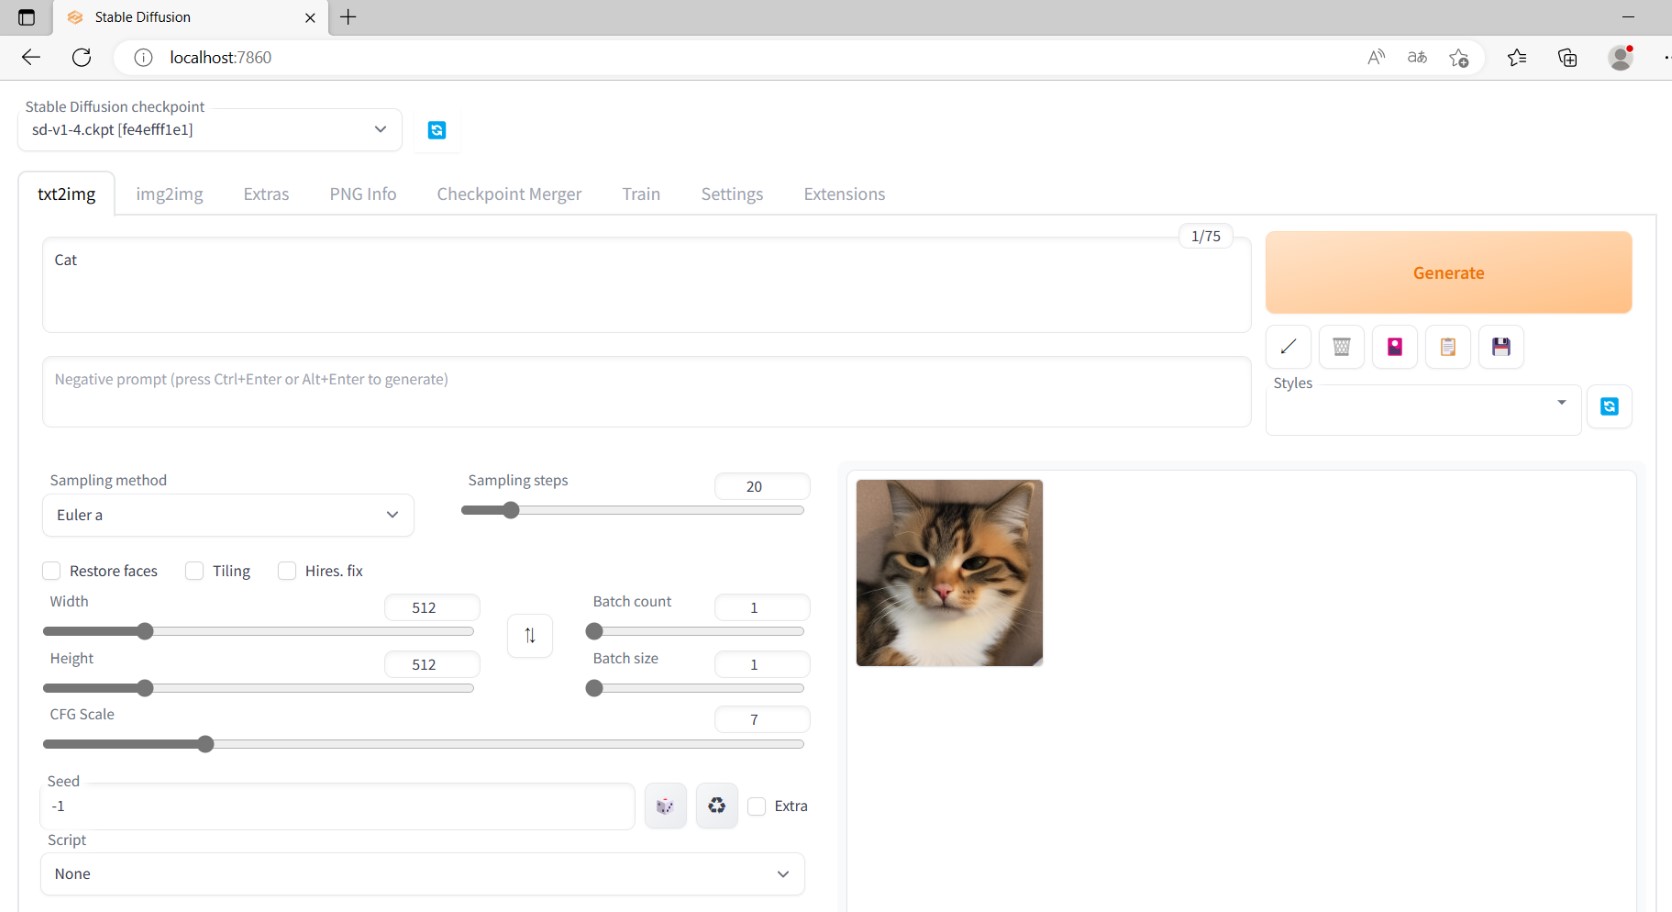
以上のようにかわいい猫を表示してくれます。
他のモデルも使ってみよう
他にも様々なモデルが存在します。


civitaiはどの様な絵が生成されるのかサムネイルがあり分かりやすいです。また、プロンプトやパラメーターも確認できるものあります。勉強になると思います。
Stable Diffusionのモデルには拡張子がckptとsafetensors がありますが両方取り込むことができるので色々と試して遊んでみるとよいでしょう。
まとめ
Stable Diffusion web UI をCPUで利用する方法を紹介しました。ノートパソコンで気軽に試したい方にはよいかと思います。また、クラウドで画像生成の仕組みを作る場合などGPUインスタンスは高いなど様々なケースは考えられます。
ただし、やはりCPUでは非常に生成に時間がかかります。
ちなみにAzure 仮想マシンでCPUを96コアにしてもGPUより遅いです。CPUを使い切れていないような気がします。

GPUを利用するのが得策でしょう。手元にない場合にはGoogle Colab を利用するとよいでしょう。無償でも利用できます。
楽しい画像生成AIをお手軽に試してみてください。