はじめに
くどうです。
Serverless Framework が Azure Functionsをサポートしました。
そこでレビューしてみたいと思います。
下記のドキュメントに沿って進めていきます。
Serverless Azure Functions Plugin – Add Azure Functions support to the Serverless Framework
準備
node と npmをインストールします。
下記を参考にしながら行います。
http://qiita.com/seibe/items/36cef7df85fe2cefa3ea
n packegeを利用してインストールします。
# apt-get install nodejs npm
# npm cache clean
# npm install n -g
# n stable
# ln -sf /usr/local/bin/node /usr/bin/node
# node -v
v7.6.0
次にServerless Freameworkをインストールします。
# npm i -g serverless
# serverless install --url https://github.com/azure/boilerplate-azurefunctions --name my-app
# cd my-app
# npm install
次はAzure CLIを導入します。
# npm i -g azure-cli
Azureアカウントへログインします。
# azure login
指示に従いhttps://aka.ms/deviceloginへ移動し、コードを入力します。
現在のアカウントを確認します。
# azure account show
異なるアカウントを利用したい場合は下記を参考
# azure account list
# azure account set 573e2c47-xxxx-xxxx-xxxx-xxxxxx3ca006b
service principalを作成します。
# azure ad sp create -n serverless1 -p xxxxxxxx
info:    Executing command ad sp create
+ Creating application serverless1
+ Creating service principal for application 2882e153-xxxx-xxxx-xxxx-c8exxxd144ea
data:    Object Id:               4d95384c-xxxx-xxxx-xxxx-f7caxxx665e8
data:    Display Name:            serverless1
data:    Service Principal Names:
data:                             2882e153-xxxx-xxxx-xxxx-c8eaxxx144ea
data:                             http://serverless1
info:    ad sp create command OK
roleを設定します。
# azure role assignment create --objectId 4d95384c-xxxx-xxxx-xxxx-f7caxxx665e8 -o Contributor
info:    Executing command role assignment create
+ Finding role with specified name
\data:    RoleAssignmentId     : /subscriptions/573xxxx7-xxxx-xxxx-xxxx-4afxxxxa006b/providers/Microsoft.Authorization/roleAssignments/b6fxxxx4-xxxx-xxxx-xxxx-537axxxx6667
data:    RoleDefinitionName   : Contributor
data:    RoleDefinitionId     : b2xxxxac-xxxx-xxxx-xxxx-20f7xxxxd24c
data:    Scope                : /subscriptions/573e2c47-xxxx-xxxx-xxxx-4af1xxxx006b
data:    Display Name         : serverless1
data:    SignInName           : undefined
data:    ObjectId             : 4dxxxx4c-xxxx-xxxx-xxxx-f7cafxxxx5e8
data:    ObjectType           : ServicePrincipal
data:
+
info:    role assignment create command OK
Serverless Freameworkで利用する環境変数を設定します。
export azureSubId='573xxxx7-xxxx-xxxx-xxxx-4af133ca006b'
export azureServicePrincipalTenantId='baxxxx87-xxxx-xxxx-xxxx-eb6xxxxb8fc8'
export azureServicePrincipalClientId='28xxxx53-xxxx-xxxx-xxxx-c8ea32xxxxea'
export azureServicePrincipalPassword='xxxxxxxx'
サンプルでは特に変える必要はないですが
my-app/serverless.ymlを編集します。
service: my-app
↓
service: my-azure-functions-app
Azure FunctionsにDeployします。
# cd my-app
# serverless deploy

  WARNING: You are running v1.7.0. v1.8.0 will include the following breaking changes:
    - Will replace IamPolicyLambdaExecution resource with inline policies -> https://git.io/vDilm
    - "sls info" will output the short function name rather than the lambda name -> https://git.io/vDiWx

  You can opt-out from these warnings by setting the "SLS_IGNORE_WARNING=*" environment variable.

Serverless: Packaging service...
Serverless: Logging in to Azure
Serverless: Creating resource group: my-azure-functions-app-rg
Serverless: Creating function app: my-azure-functions-app
Serverless: Waiting for Kudu endpoint...
Serverless: Parsing Azure Functions Bindings.json...
Serverless: Building binding for function: httpjs event: httpTrigger
Serverless: Packaging function: httpjs
Serverless: Building binding for function: queuejs event: queueTrigger
Serverless: Building binding for function: queuejs event: blob
Serverless: Packaging function: queuejs
Serverless: Syncing Triggers....Response statuscode: 200
Serverless: Running Kudu command del package.json...
Serverless: Running Kudu command npm install --production...
Serverless: Successfully created Function App
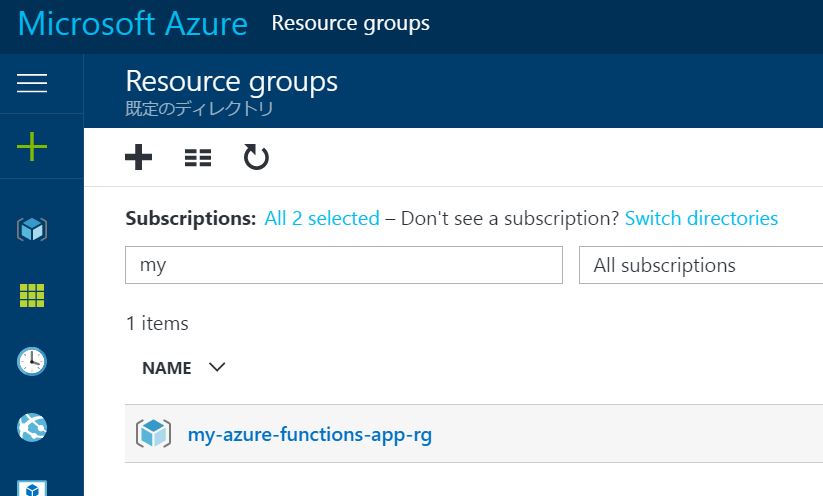
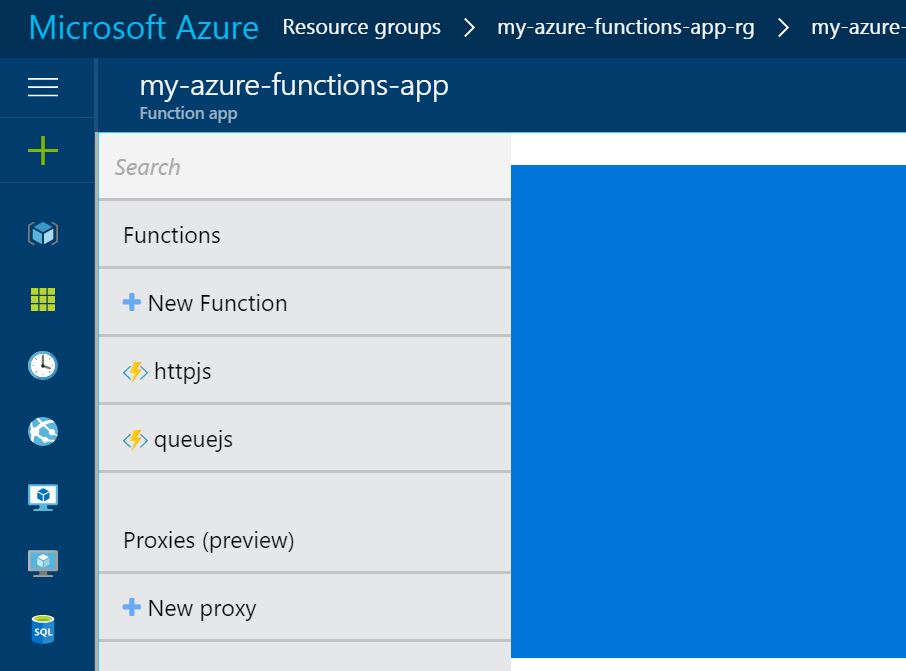
実行後、Azure Portalを見ると、

Functionができています。

functionsを変更し、上書きするDeployする場合は
# serverless deploy function -f httpjs
Invokesする場合。
# serverless invoke --path httpQueryString.json -f httpjs
ログを表示されたい場合は
ログをストリーム表示させることが可能です。
# serverless logs -f httpjs -t
Functionとリソースを削除する場合は
# serverless remove
まとめ
AzureもServerless Freameworkを利用できるようになりました。
まだ、サポートが始まったばかりなので注意も必要ですが
ではでは