はじめに
Alibaba Cloudの基本的な構成をWordPressを動かすことで確認していきたいと思います。
最初はいたって単純な構成で動かします。
Elastic Compute Service 一台に全部乗せです。あくまでも練習です。

Elastic Compute Serviceを立ち上げる
最初にElastic Compute Serviceを立ち上げていきます。
メニューからElastic Compute Serviceを開きます。
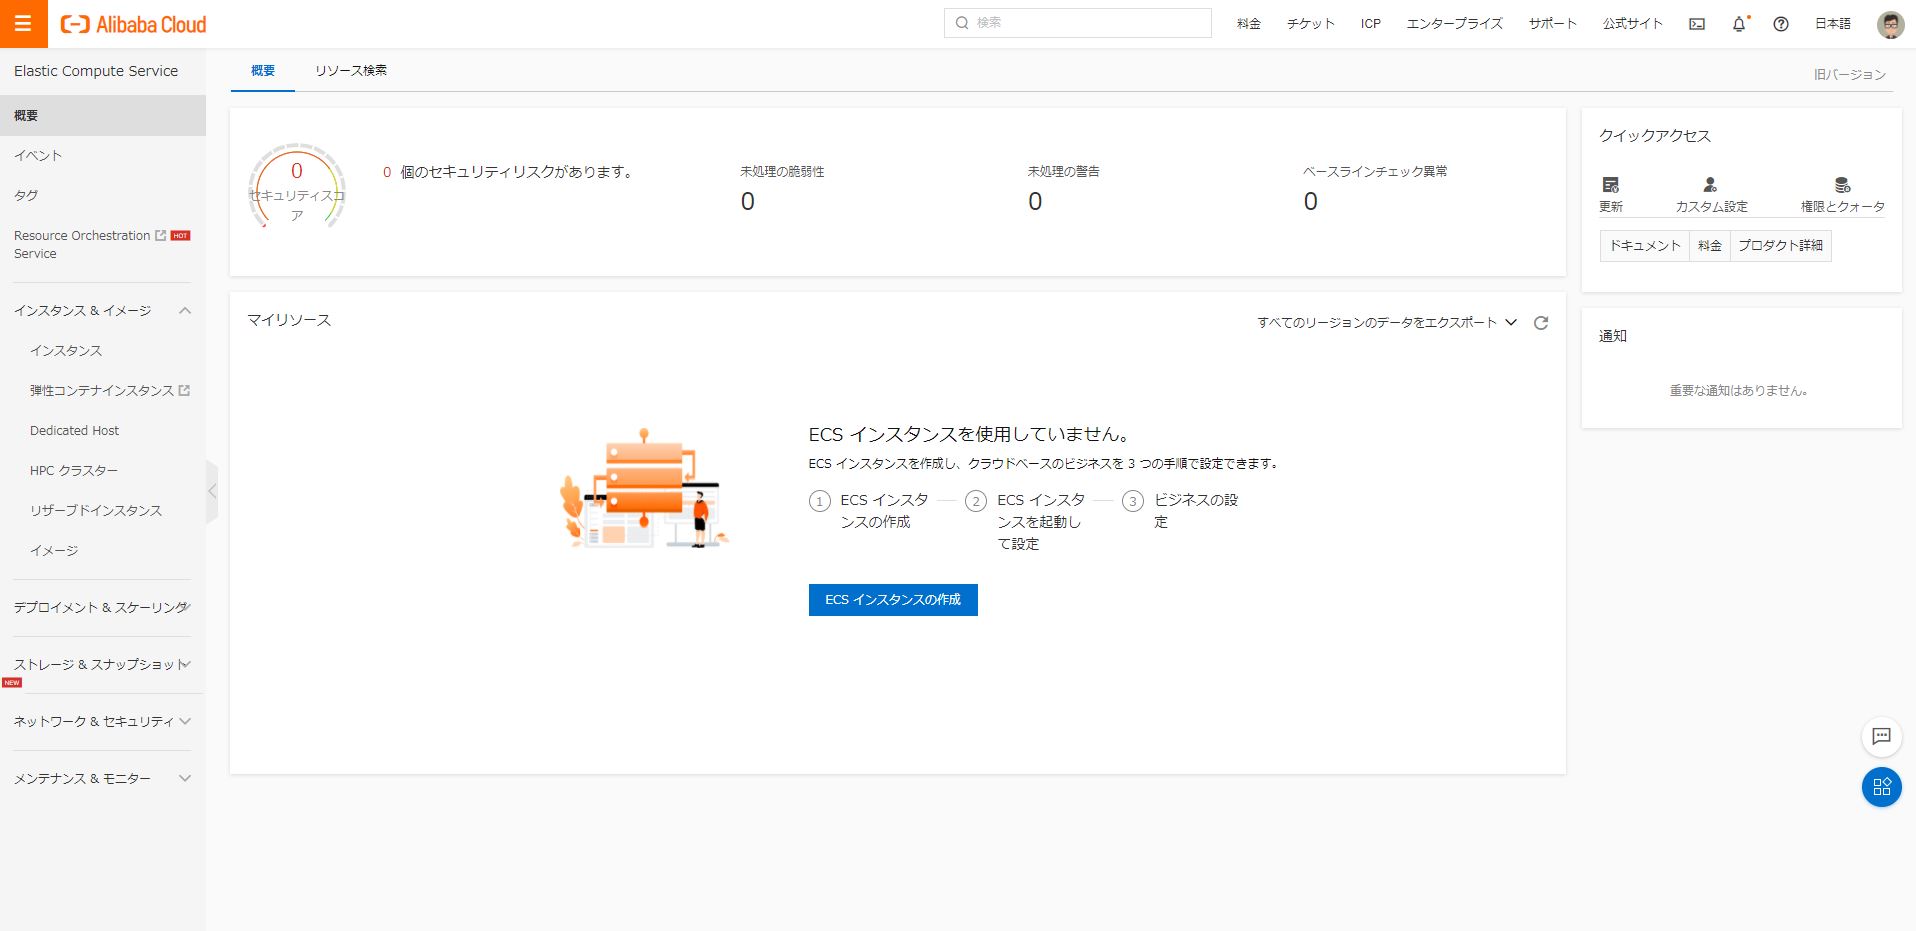
ECSインスタンスの作成を開きます。
課金方法は今回は直ぐに削除するため従量課金を選択します。数か月単位で利用すること場合はサブスクリプションの方が良いでしょう。
リージョンは日本を選択します。現在は日本は2リージョンあります。どちらでもよいので今回はランダムを選択しています。

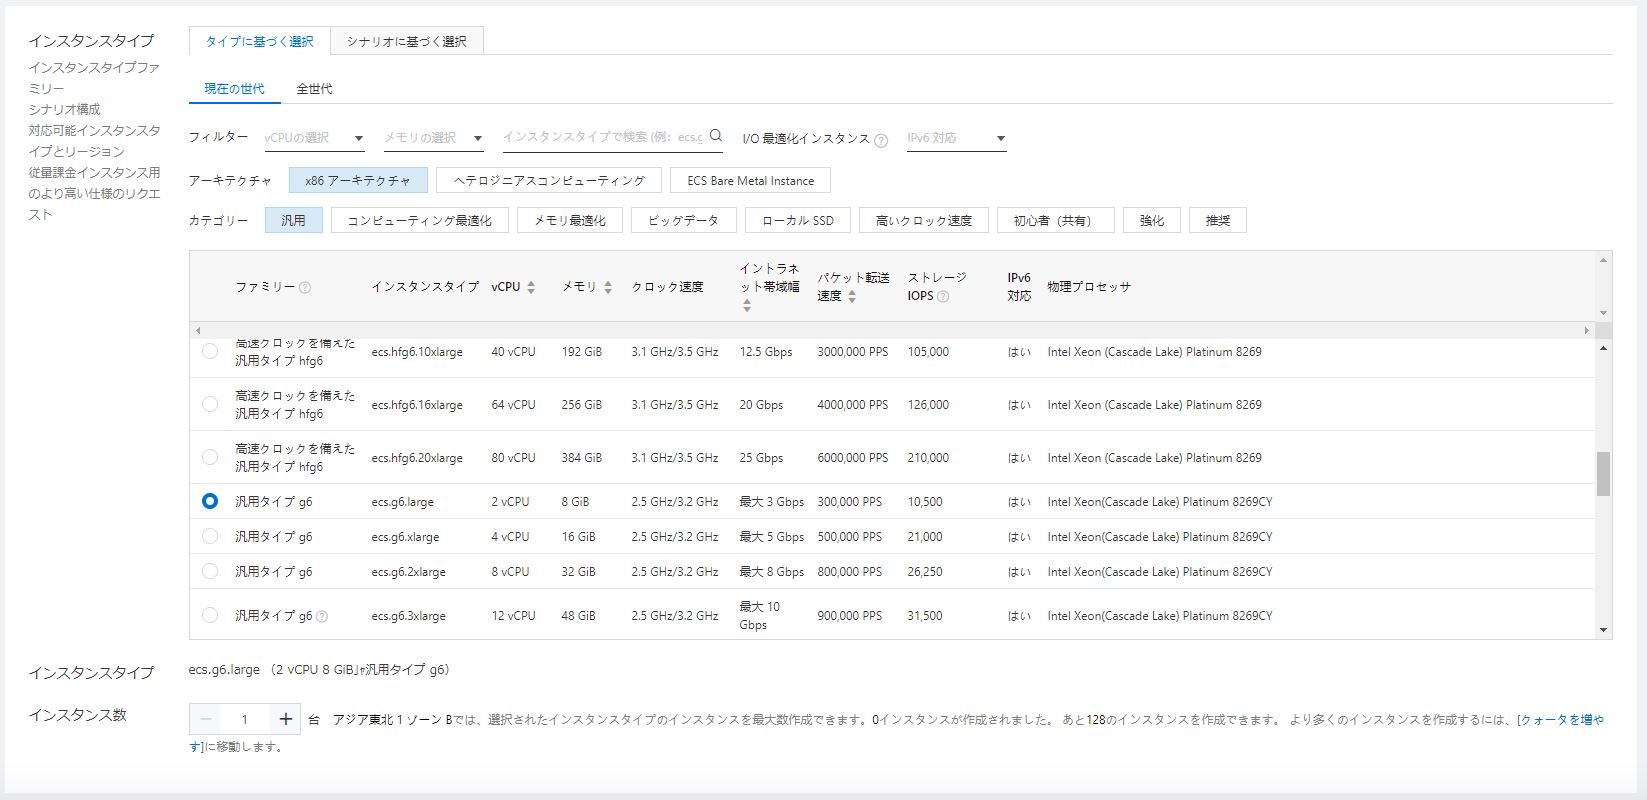
インスタンスタイプは「汎用タイプg6 ecs.g6.large」を選択しています。現在、共有ではないインスタンスで最安値かと思います。
インスタンス数は1です。
OSについては以下が用意されています。FreeBSDが利用できるのは非常に有利な場面もあります。未だにコアなユーザがいますしね。
- Windows Server
- CentOS
- Ubuntu
- RedHat
- Debian
- SUSE Linux
- OpenSUSE
- CoreOS
- FreeBSD
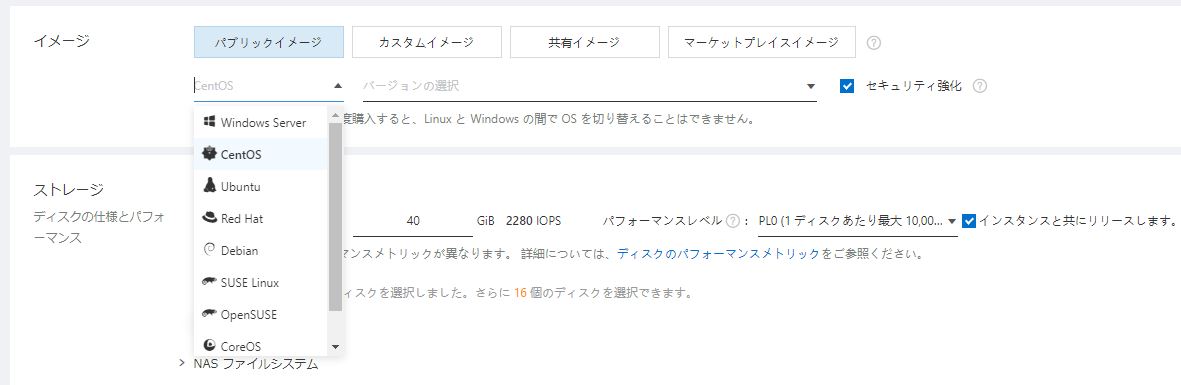
今回はCentOSの最新版を利用します。

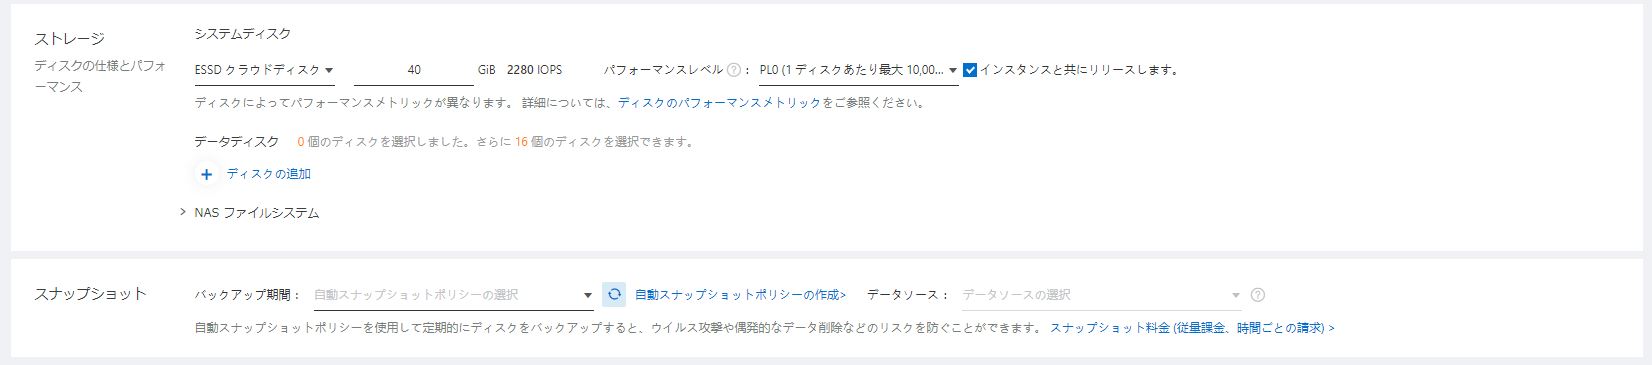
ストレージはそのままです。40GBです。
スナップショットも特に設定しません。
ネットワークの設定に進みます。
事前にVPCを準備していない場合は作成します。
デフォルトではなくVPCを新たに作成することをお奨めします。

「コンソールへ移動して作成できます」を開き作成します。
既存のVPCを確認できます。

VPCを作成します。
適当に名前を付けます。

VSwitchの設定を行います。
VSwitchは通信を行うために必要なものになります。
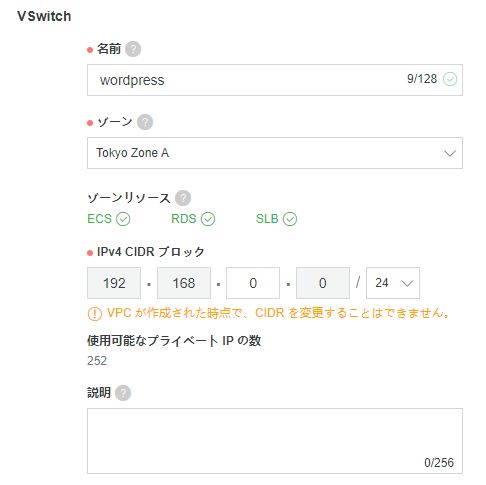
作成されたものを確認します。
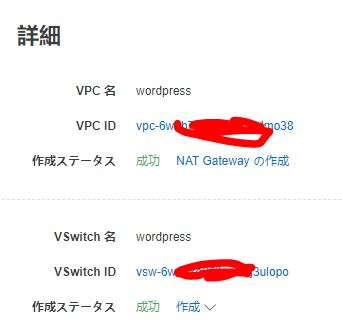
ECS作成の画面に戻り更新ボタンを押して作成したVPCおよびVSwitchを選択します。

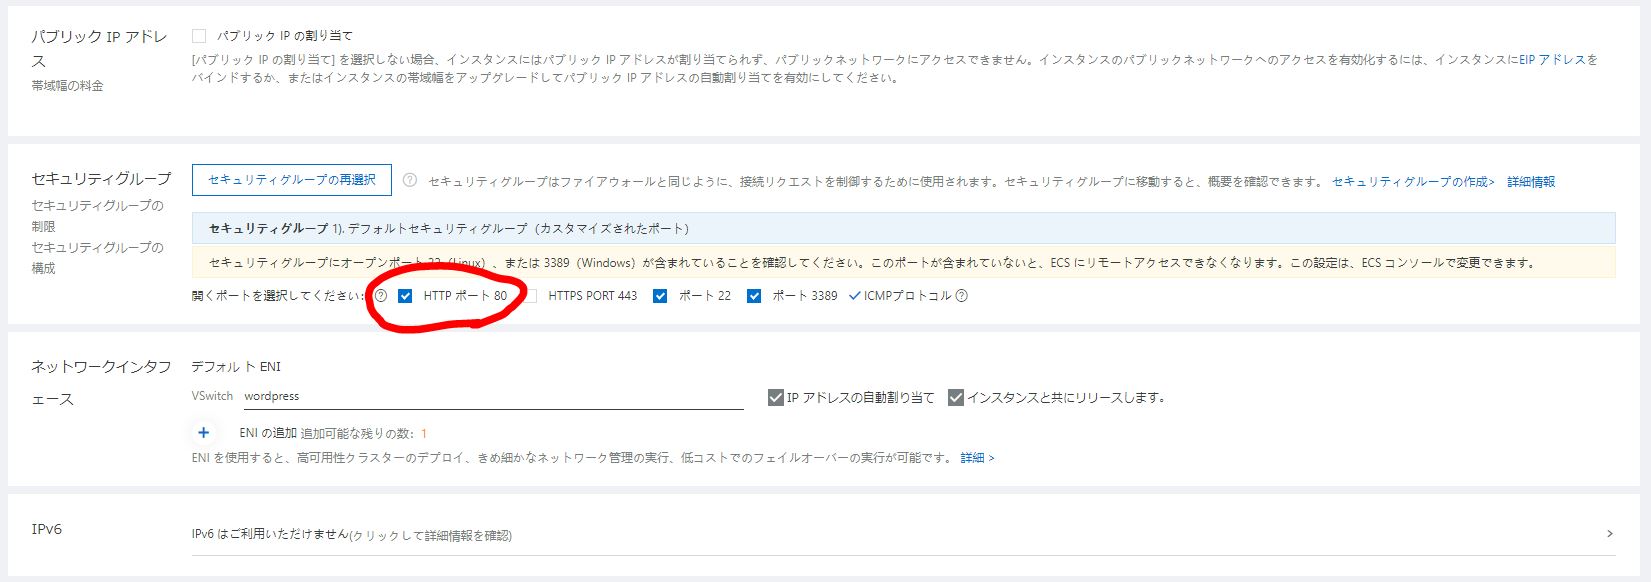
パブリックIPはそのままです。あとで設定します。
セキュリティグループはポート80を追加します。チェック入れます。
ネットワークインターフェースがそのままです。IPv6もそのままです。
システム構成に進みます。
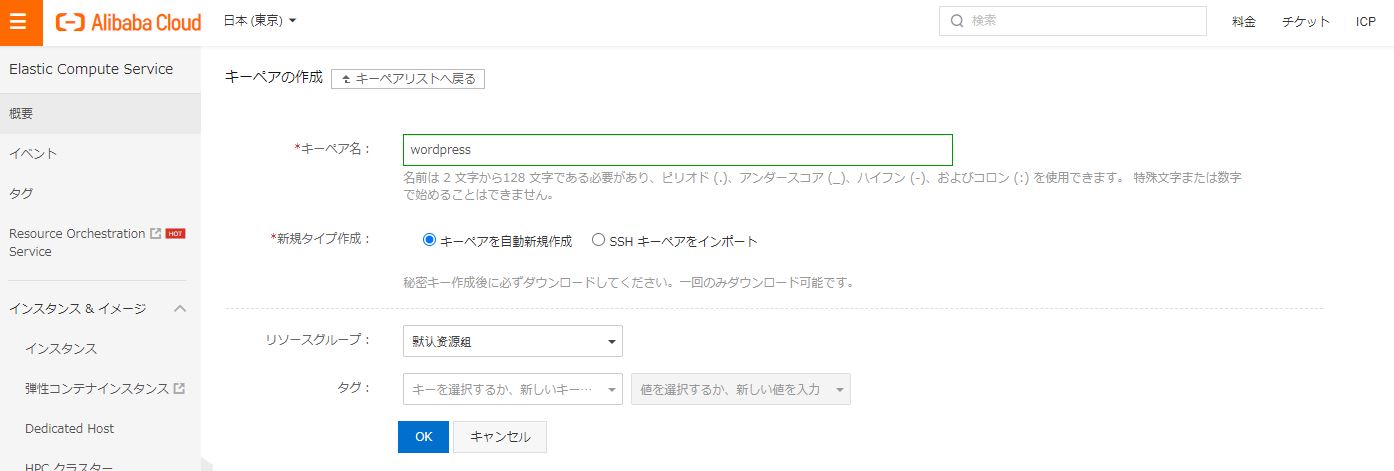
キーペアの設定をします。
キーペアの作成を開きます。

キーペア名を設定し、リソースグループ(デフォルト)を選択し作成します。
pemファイルがダウンロードされます。
ECSの画面に戻り更新ボタンを押して作成したキーを選択します。
その他はそのままです。
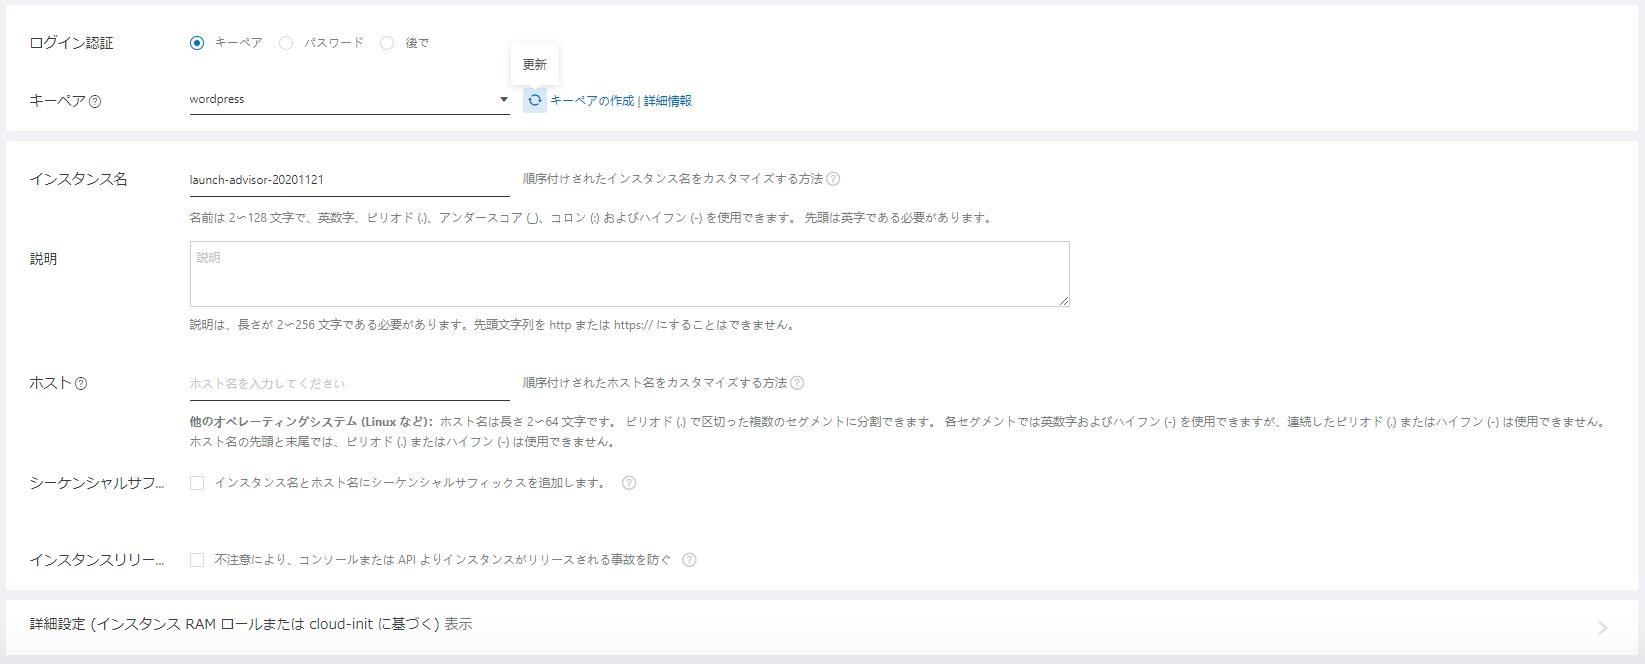
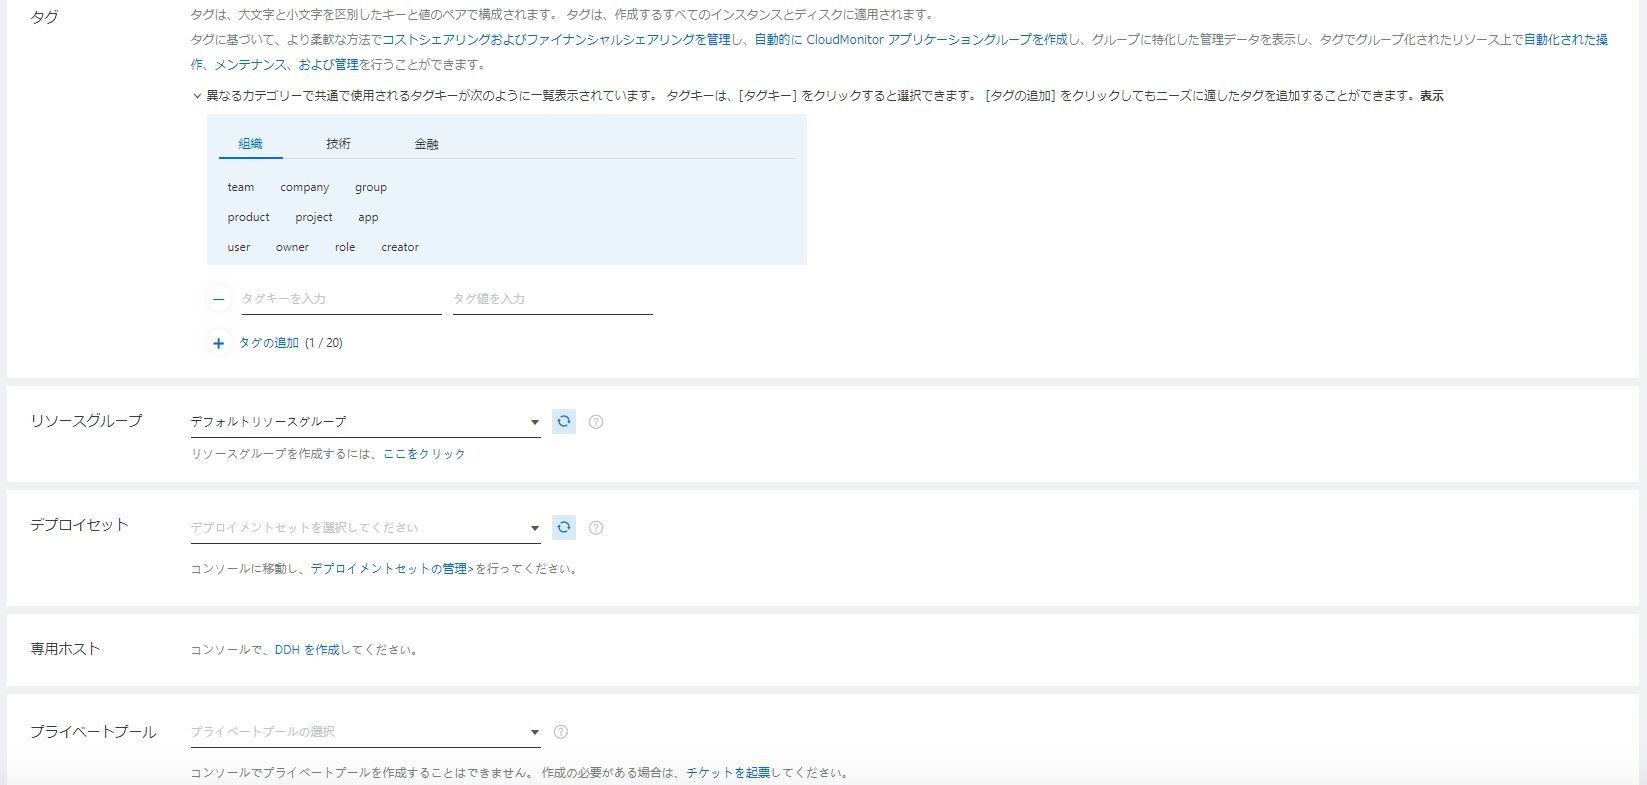
グループ化に進みます。
リソースグループでデフォルトリソースグループを選択します。
他はそのままです。
プレビューに進みます。
利用規約にチェックを入れてインスタンスの作成を行います。

作成されるまで待ちましょう。
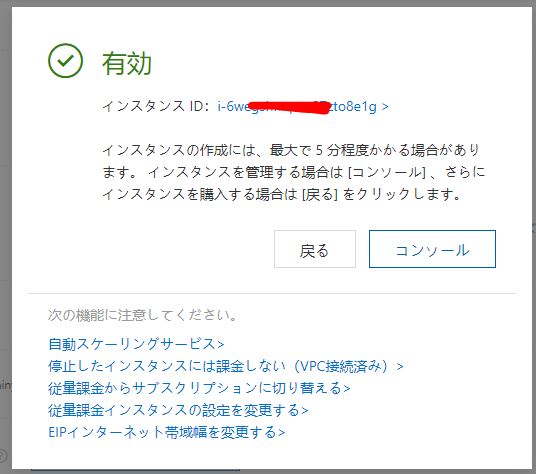
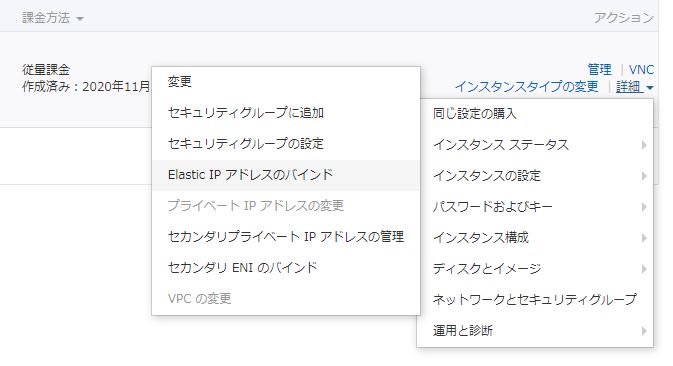
作成されたらリスト開きます。
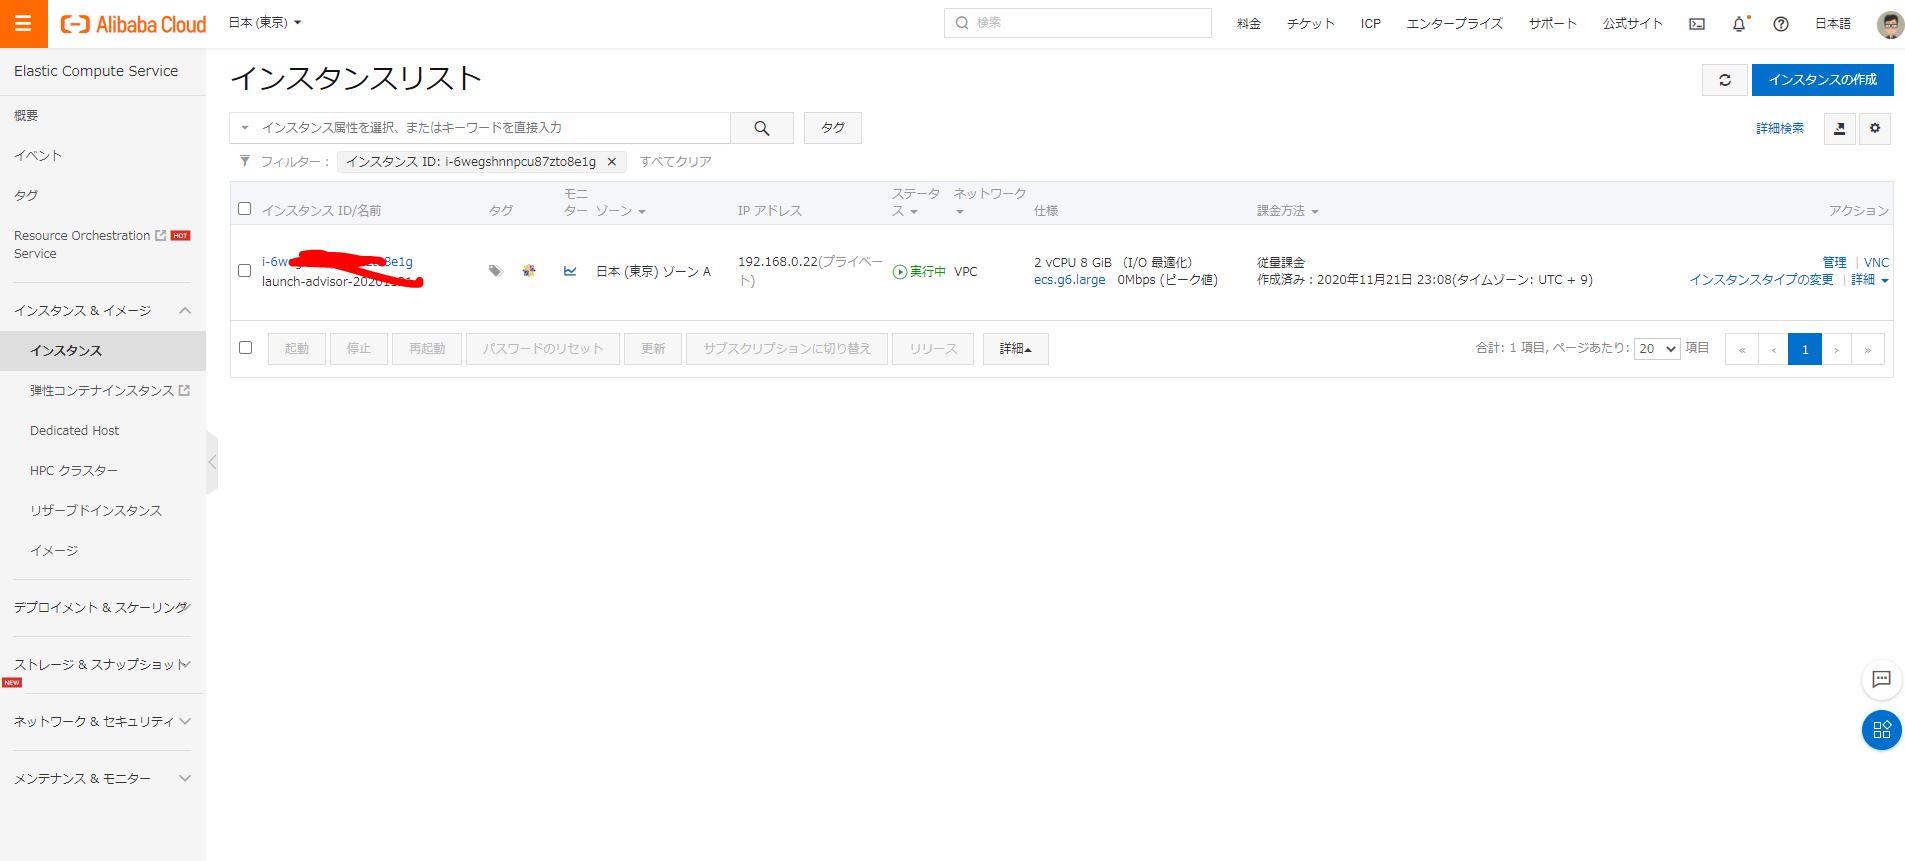
詳細からEIPをバインドします。
EIPを作成します。
東京を選択します。
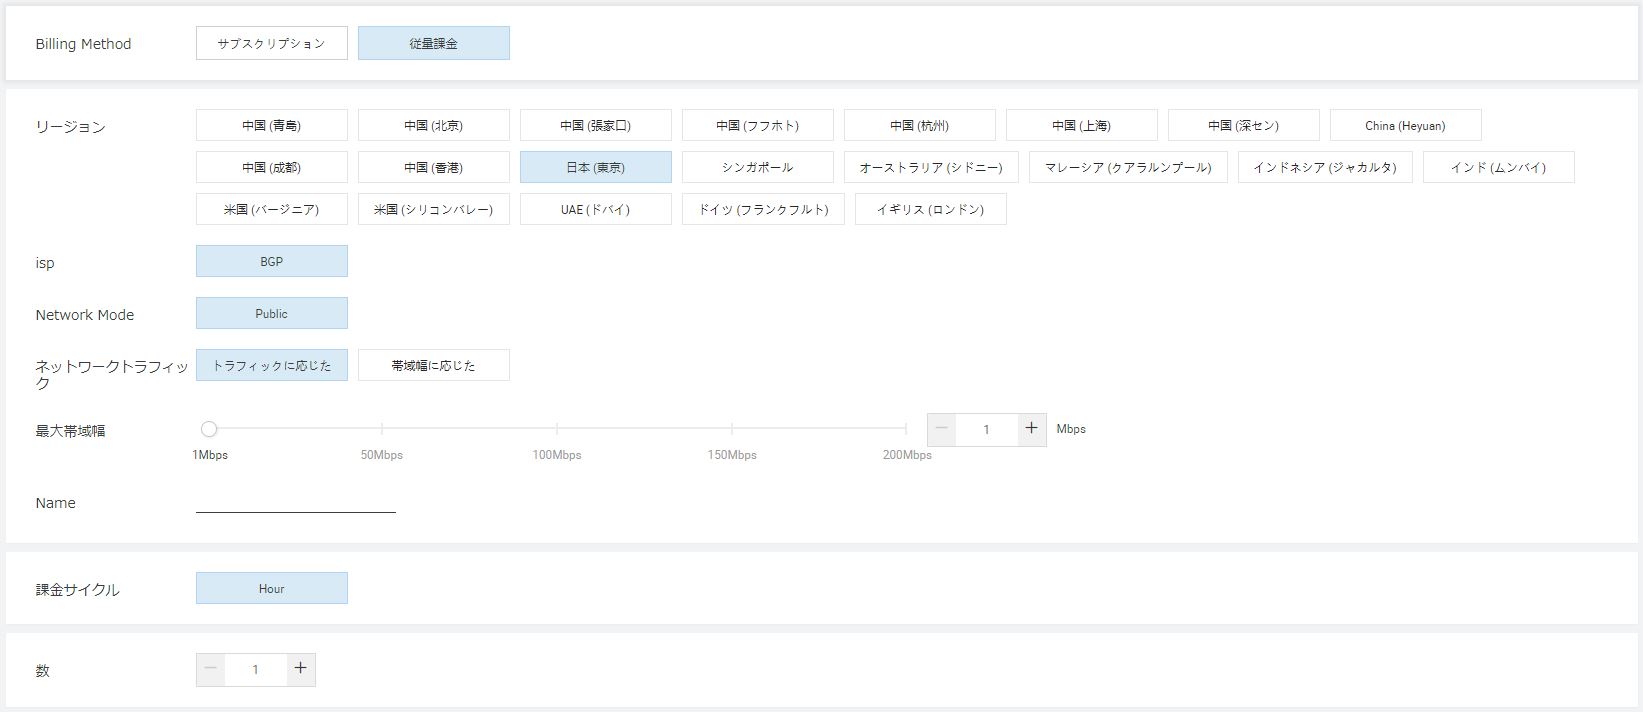
利用規約に同意します。作成します。

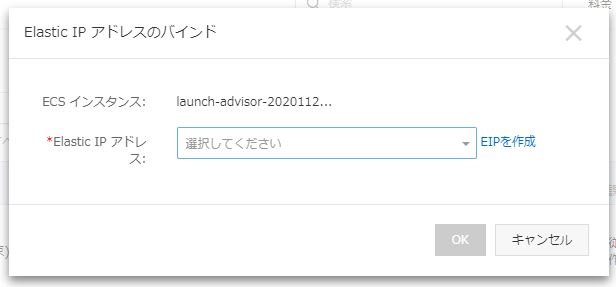
EIPのバインドの画面に戻り作成したEIPを選択します。

設定したらSSHで接続できることを確認します。
ssh root@47.74.15.137 -i wordpress.pem
The authenticity of host '47.74.15.137 (47.74.15.137)' can't be established.
ECDSA key fingerprint is SHA256:IMh52KkbdoUVbNrFUPadjzUfDrohW8i5dUH74aMSKnw.
Are you sure you want to continue connecting (yes/no)? yes
Warning: Permanently added '47.74.15.137' (ECDSA) to the list of known hosts.

Welcome to Alibaba Cloud Elastic Compute Service !

Activate the web console with: systemctl enable --now cockpit.socket

[root@iZ6wegshnnpcu87zto8e1gZ ~]#
ログインで出来たのでWordpressをインストールしていきます。
WordPressのインストール
インストールは公式ドキュメントを元に進めます。
https://ja.wordpress.org/support/
とりあえず最初にアップデートでいます。
yum update
次に、MySQLをインストールしていきます。
Alibaba Cloud場合はyumで一発インストールが可能です。
AppStreamレポジトリが設定されておりAlibabaCloudが用意したレポジトリへ接続されます。
中国にサーバを設置した場合はOSSの類は公式のレポジトリへ接続できない可能性があるためこれを利用しましょう。
cat /etc/yum.repos.d/CentOS-AppStream.repo
# CentOS-AppStream.repo
#
# The mirror system uses the connecting IP address of the client and the
# update status of each mirror to pick mirrors that are updated to and
# geographically close to the client.  You should use this for CentOS updates
# unless you are manually picking other mirrors.
#
# If the mirrorlist= does not work for you, as a fall back you can try the
# remarked out baseurl= line instead.
#
#

[AppStream]
name=CentOS-$releasever - AppStream
baseurl=http://mirrors.cloud.aliyuncs.com/$contentdir/$releasever/AppStream/$basearch/os/
gpgcheck=1
enabled=1
gpgkey=file:///etc/pki/rpm-gpg/RPM-GPG-KEY-centosofficial
MySQL Serverをインストールします。
yum install mysql-server
自動起動をEnableにして起動します。
systemctl enable mysqld
systemctl start mysqld
初期設定を行います。
mysql_secure_installation

Securing the MySQL server deployment.

Connecting to MySQL using a blank password.

VALIDATE PASSWORD COMPONENT can be used to test passwords
and improve security. It checks the strength of password
and allows the users to set only those passwords which are
secure enough. Would you like to setup VALIDATE PASSWORD component?

Press y|Y for Yes, any other key for No: y

There are three levels of password validation policy:

LOW    Length >= 8
MEDIUM Length >= 8, numeric, mixed case, and special characters
STRONG Length >= 8, numeric, mixed case, special characters and dictionary                  file

Please enter 0 = LOW, 1 = MEDIUM and 2 = STRONG: 1
Please set the password for root here.

New password:

Re-enter new password:

Estimated strength of the password: 100
Do you wish to continue with the password provided?(Press y|Y for Yes, any other key for No) : y
By default, a MySQL installation has an anonymous user,
allowing anyone to log into MySQL without having to have
a user account created for them. This is intended only for
testing, and to make the installation go a bit smoother.
You should remove them before moving into a production
environment.

Remove anonymous users? (Press y|Y for Yes, any other key for No) : y
Success.


Normally, root should only be allowed to connect from
'localhost'. This ensures that someone cannot guess at
the root password from the network.

Disallow root login remotely? (Press y|Y for Yes, any other key for No) : y
Success.

By default, MySQL comes with a database named 'test' that
anyone can access. This is also intended only for testing,
and should be removed before moving into a production
environment.


Remove test database and access to it? (Press y|Y for Yes, any other key for No) : y
 - Dropping test database...
Success.

 - Removing privileges on test database...
Success.

Reloading the privilege tables will ensure that all changes
made so far will take effect immediately.

Reload privilege tables now? (Press y|Y for Yes, any other key for No) : y
Success.

All done!
とりあえず接続できることを確認します。
mysql -u root -p
Enter password:
Welcome to the MySQL monitor.  Commands end with ; or \g.
Your MySQL connection id is 10
Server version: 8.0.21 Source distribution

Copyright (c) 2000, 2020, Oracle and/or its affiliates. All rights reserved.

Oracle is a registered trademark of Oracle Corporation and/or its
affiliates. Other names may be trademarks of their respective
owners.

Type 'help;' or '\h' for help. Type '\c' to clear the current input statement.

mysql> show databases;
+--------------------+
| Database           |
+--------------------+
| information_schema |
| mysql              |
| performance_schema |
| sys                |
+--------------------+
4 rows in set (0.01 sec)
Databaseの作成とユーザーを接続します。バージョン8は構文が変わってGRANTでIDENTIFIED は使えません。ユーザー作成→権限の順番で設定する必要があります。
mysql> CREATE DATABASE wordpress;
Query OK, 1 row affected (0.01 sec)

mysql> CREATE USER "wpuser"@"localhost" IDENTIFIED BY "yP_.PPKV@w8b";
Query OK, 0 rows affected (0.00 sec)

mysql> GRANT ALL PRIVILEGES ON wordpress.* TO "wpuser"@"localhost";
Query OK, 0 rows affected (0.00 sec)

mysql> FLUSH PRIVILEGES;
Query OK, 0 rows affected (0.00 sec)

mysql> EXIT
Bye
次にApacheとPHPをインストールします。
PHPをインストールしますが、php-mysqlではなくphp-mysqlndなことに注意します。
またこの時、Apacheが自動的にインストールされます。別途インストールする必要がありません。
yum install php php-mysqlnd php-pecl-json
自動起動の設定したあとに起動します。
systemctl enable httpd
systemctl start httpd
次にWordpressをインストールします。
https://wordpress.org/download/
wget https://wordpress.org/latest.tar.gz
tar zxvf latest.tar.gz
mv wordpress/* /var/www/html/
chown -R apache.apache /var/www/html
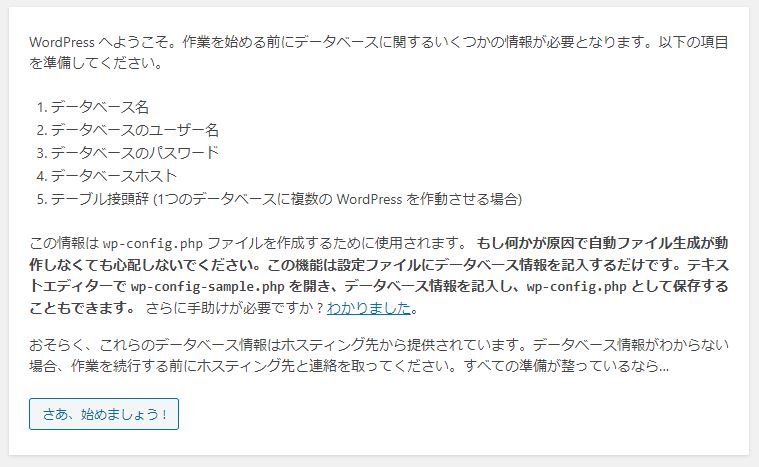
ブラウザから対象のサーバーにアクセスします。
日本語を選択してインストール進めます。

注意書き
設定したデータベースの情報を書き込みます。
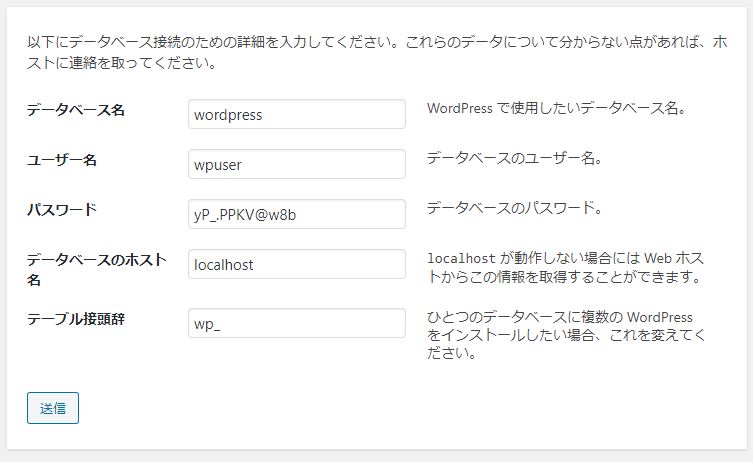
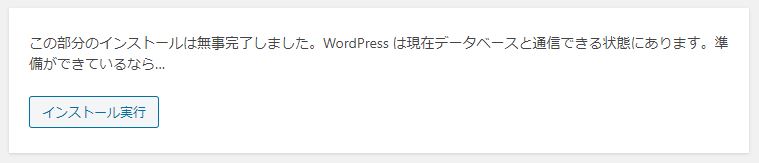
データベースの設定が完了です。
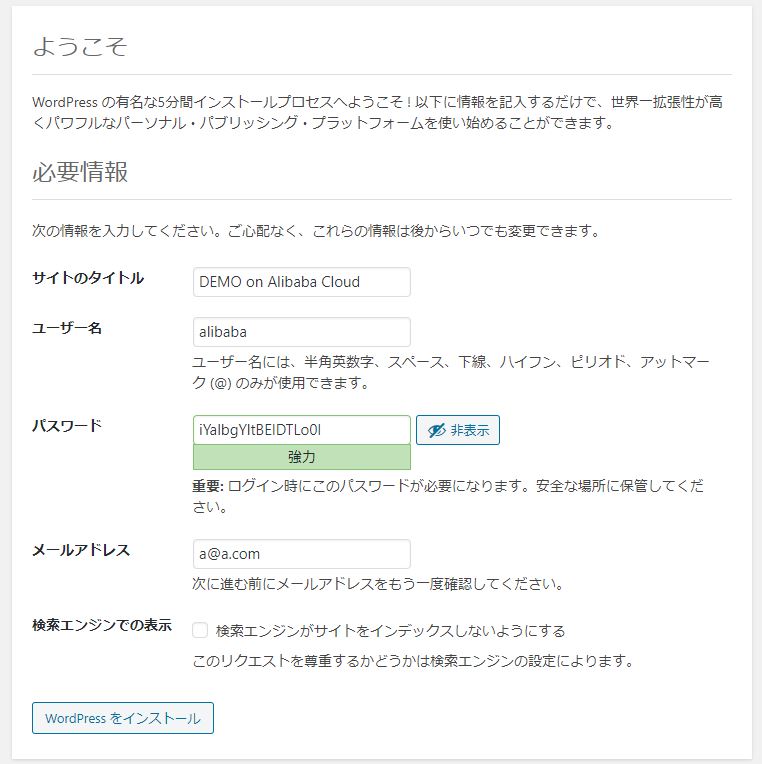
WordPressのサイト情報を書き込みます。
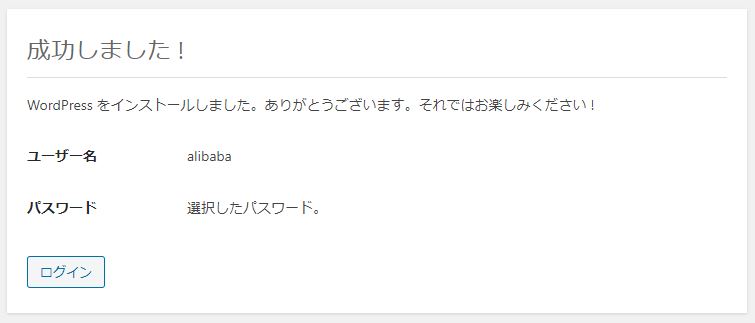
インストールが完了したことが表示されます。
ログインが確認できることを確認します。
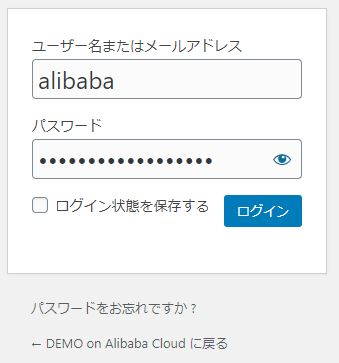
ログイン後の画面。

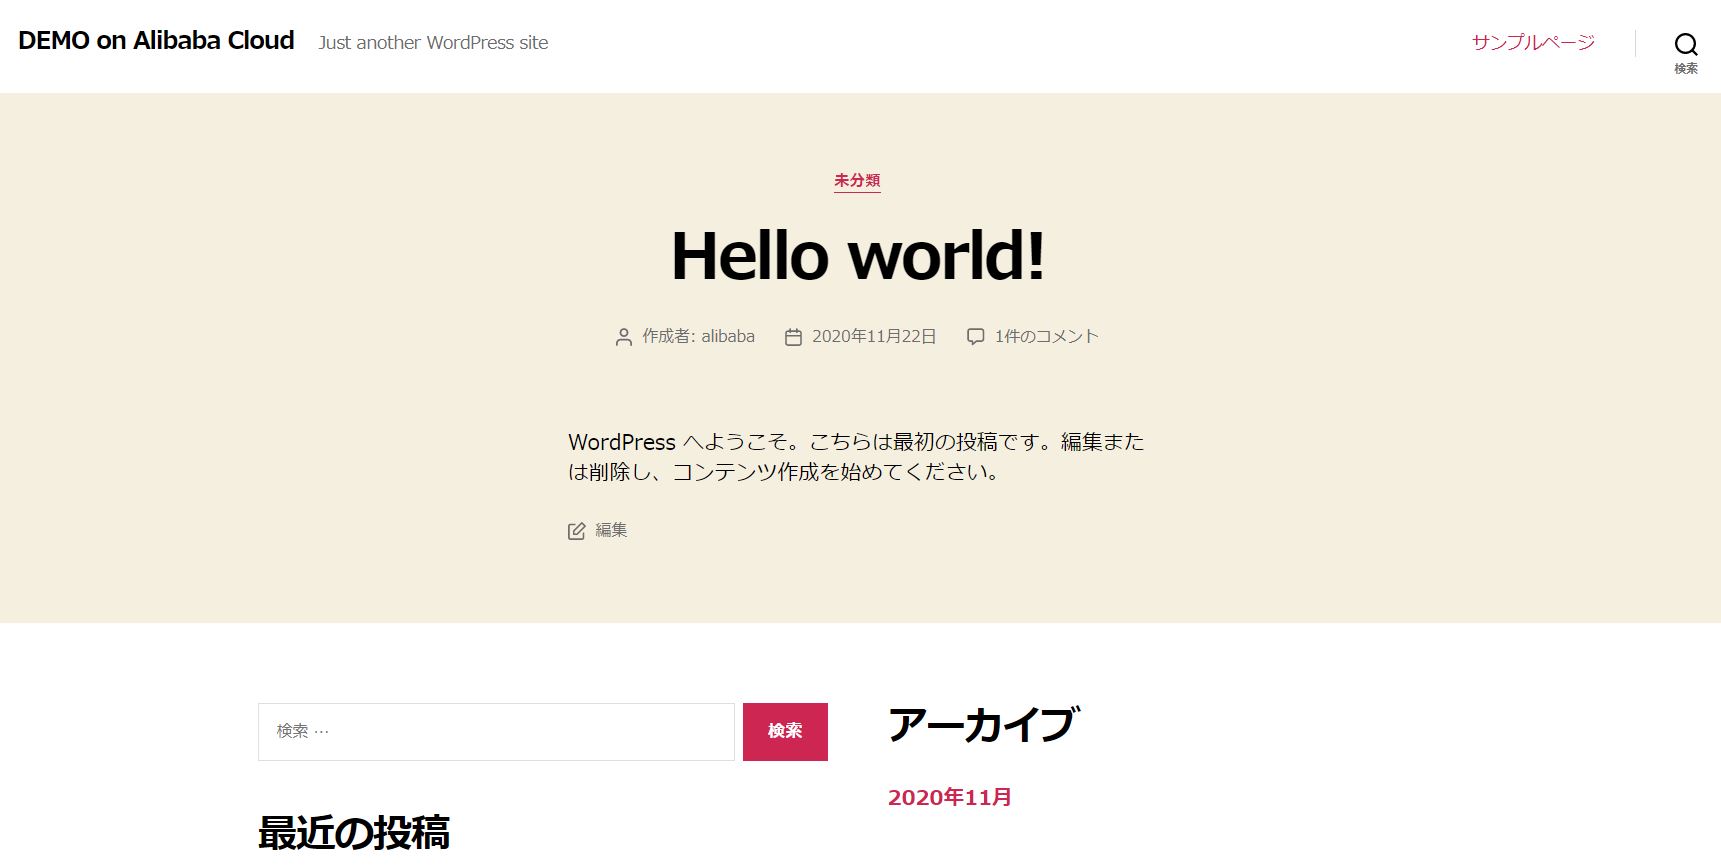
サイトを表示し確認します。
あとで気づいたのですがAlibaba CloudではSELinuxが無効になっているようです。
以上で完了です。
まとめ
今回はAlibaba Cloudを利用して、CentOS8でWordpressを動作させました。
Elastic Compute Serviceの起動からWordpressのインストールまで行いました。
次回はさらにこの構成を拡張していきたいと思います。