はじめに
くどうです。
証明書の更新は簡単です。ついでにLet’s Encryptの証明書ファイルを更新してみます。
Let’s Encryptの作成については前回の記事に書かれています。
Let’s Encryptの証明書を再作成
今回の証明書の再作成は運用しているサーバー上で行うことを前提としています。
Azure Application Gateway上でLet’s Encryptの証明書を再発行する場合、以下の条件があります。
・対象ドメインで正引きが行え、サーバーと80ポートで通信が行えること。
これを実現するため、Azure上では以下の手順を踏み必要があります。
・Application Gatewayでフロントポート80を追加(参考)
・バックエンドサーバーにLet’s Encrypt クライアントがインストールされている(参考)
・バックエンドサーバーにはHttpdが80ポートで動作している
80ポートを必要とする理由は、Let’s Encryptのプラグイン機能webrootではhttpdを利用します。
ドキュメントルートに認証用ファイルが作成され、認証サーバーから確認されることで発行されます。
では実際に作成していきます。
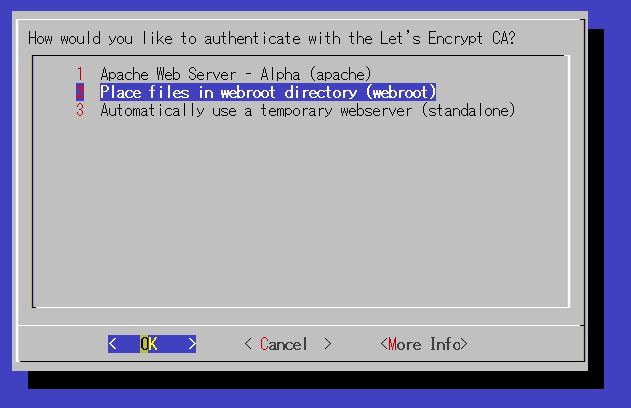
Let’s Encryptクライアントを起動します
./letsencrypt-auto certonly
webrootを選択します
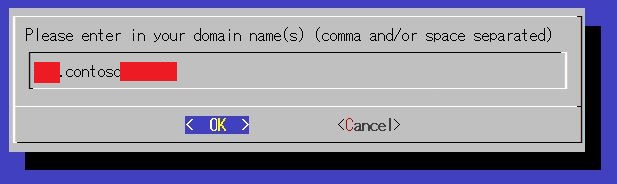
更新するドメインを入力します
[Renew & replace the cert]を設定します
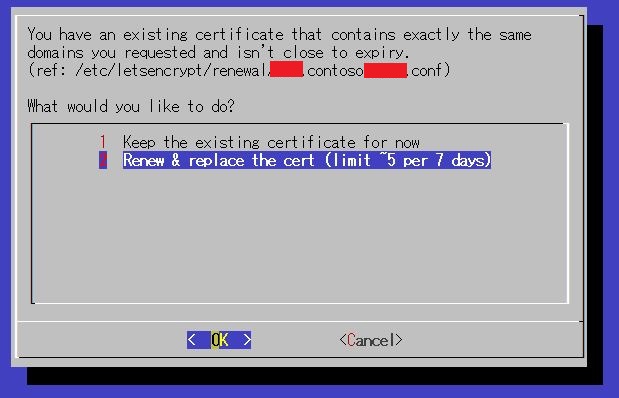
OKをクリック
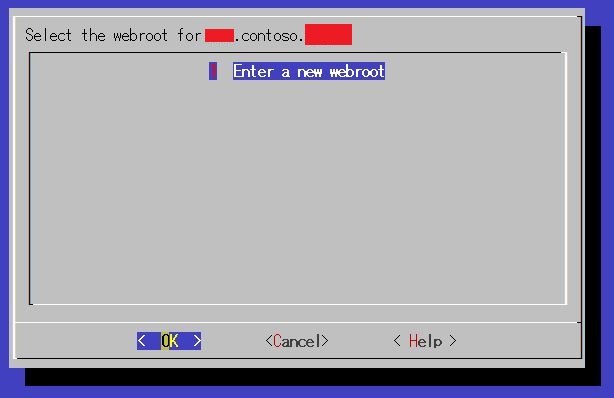
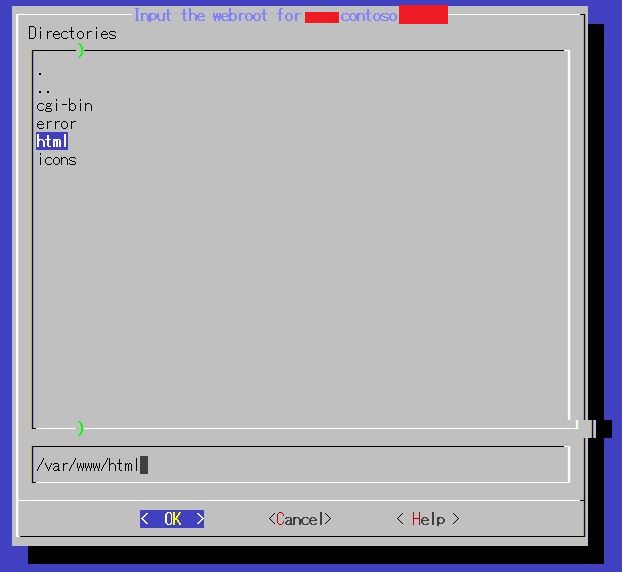
webrootを入力します。
ここでは、Apacheのドキュメントルート「/var/www/html」を入力します。
問題なく完了すると以下のメッセージが表示されます。
IMPORTANT NOTES:
 - Congratulations! Your certificate and chain have been saved at
   /etc/letsencrypt/live/xxx.contoso.xxxx/fullchain.pem. Your cert
   will expire on 2016-07-30. To obtain a new version of the
   certificate in the future, simply run Let's Encrypt again.
 - If you like Let's Encrypt, please consider supporting our work by:

   Donating to ISRG / Let's Encrypt:   https://letsencrypt.org/donate
   Donating to EFF:                    https://eff.org/donate-le
以下のコマンドでも発行可能です。
# ./letsencrypt-auto certonly --webroot --renew-by-default -w /var/www/html -d xxx.contoso.xxxx
Application Gatewayの証明書はpfx形式である必要があります。
そこでopensslで変換します。Exportパスワードを入力します。
# openssl pkcs12 -export -inkey /etc/letsencrypt/live/xxx.contoso.xxxx/privkey.pem -in /etc/letsencrypt/live/www.contoso.host/cert.pem -out /etc/letsencrypt/live/xxx.contoso.xxxx/www_renew.pf
nter Export Password:
Verifying - Enter Export Password:
以上で証明書の再発行は完了です。
発行した証明書は更新をするため、クライアントへ持ってきます。
証明書を更新
持ってきた証明書を元に証明書を更新します。
事前にログイン作業は行っておきます。
既存のApplication Gatewayの情報を取得します。
$getgw = Get-AzureRmApplicationGateway -Name appgwtest -ResourceGroupName appgw-rg10
証明書を設定します。
$getgw = Set-AzureRmApplicationGatewaySslCertificate -Name cert01 -ApplicationGateway $getgw -CertificateFile C:\temp\www_renew.pfx -Password xxxxxxxx
Application Gatewayを更新します。
Set-AzureRmApplicationGateway -ApplicationGateway $getgw -verbose
コピペ用
$getgw = Get-AzureRmApplicationGateway -Name appgwtest -ResourceGroupName appgw-rg10
$getgw = Set-AzureRmApplicationGatewaySslCertificate -Name cert01 -ApplicationGateway $getgw -CertificateFile C:\temp\www_renew.pfx -Password xxxxxxxx
Set-AzureRmApplicationGateway -ApplicationGateway $getgw -verbose
しばらく時間がかかります。
以上で、設定は完了です。
まとめ
Application GatewayででLet’s Encryptの証明書ファイルを更新を書きましたが、
通常、バックエンドサーバーは複数台です。その場合、Let’s Encryptクライアントのmanualプラグインを利用するのが良いと思います。
manualの方法については別途記載します。また、自動化も検討しましたが、Azure CLIのバグ(azure network application-gateway ssl-cert create 辺り)で無理でしたorz
ではでは